1 - Welcome To Bad Company
Battlefield: Bad Company Walkthrough and Guide
Battlefield: Bad Company Guide
Level 1: Welcome to Bad Company
The video introduction explains your position in the game and the members of your squad. Should you skip it, the gist of it is outlined in the introduction section above. You can skip any cutscene by pressing Start, then Back (Select). You then enter an in-game scene where you have camera control and the dispatch-girl 'Miss July' is introduced. She'll provide help and assistance throughout the rest of the game.
Once the convoy you are travelling in gets shelled, you pass out and then must complete a short tutorial.
Sgt. Haggard will ask you to look up, then down, to test your controller's vertical inversion. Use the right-stick to do this, and confirm or change the vertical axis when prompted if necessary using the onscreen command.
 The opening tutorial section |
Seize the Artillery
Collectable weapons (1/5 and 2/5):
1. Soldiers in this section will drop AEK271 weapons
2. Soldiers in this section will drop S20K weapons.
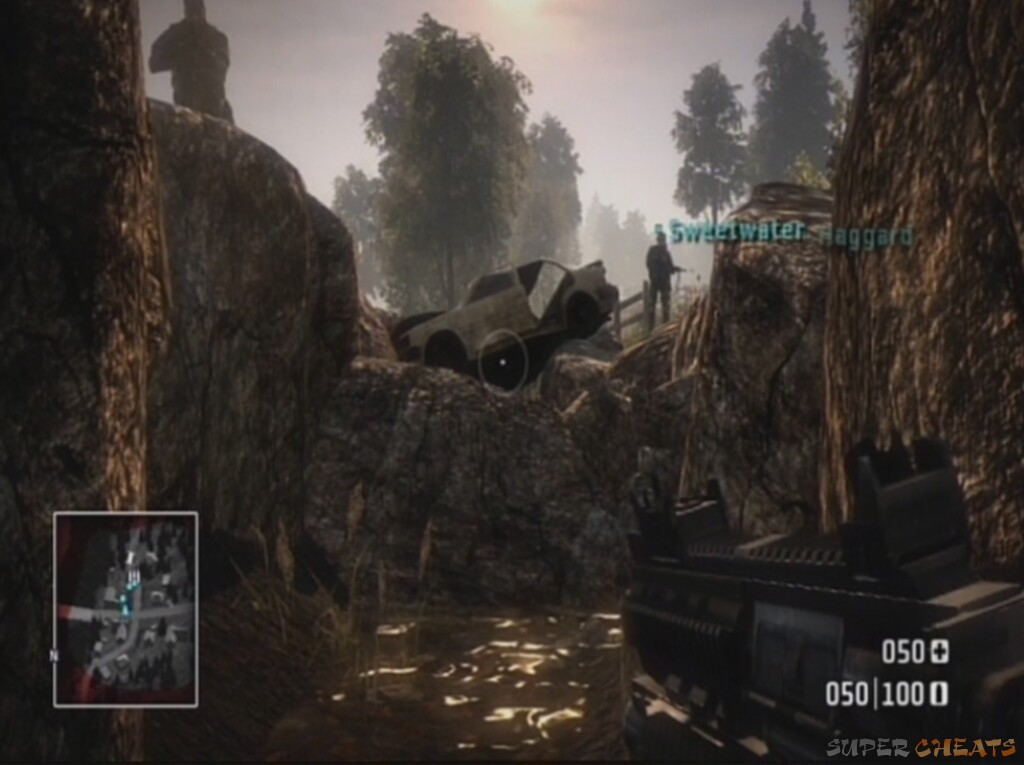
Objective: Reach Sweetwater
Simply move throughout the obstacles ahead. First you must press A or (X) while next to the obstacle to jump over the mound of rocks directly in front of your position. Then crouch by clicking the right stick and move under the hangover. Crouch is toggle-based, so click the stick again to stand up. Walk up to Sweetwater to complete the objective.
Use the Auto-Injector by cycling through your gadgets with LB or (L2), then press Right Trigger or (R1) to use. Press RB (R2) to reselect your weapon.
Objective: Destroy the Barrels
Aim at and destroy the three red barrels marked with objective indicators on the screen and map. A couple of bullets in each should do it. Remember, use LT (L1) to look down the iron-sights of the gun for more accurate aiming. Ammo is very precious in Bad Company. Once the third barrel is destroyed, the objective is complete.
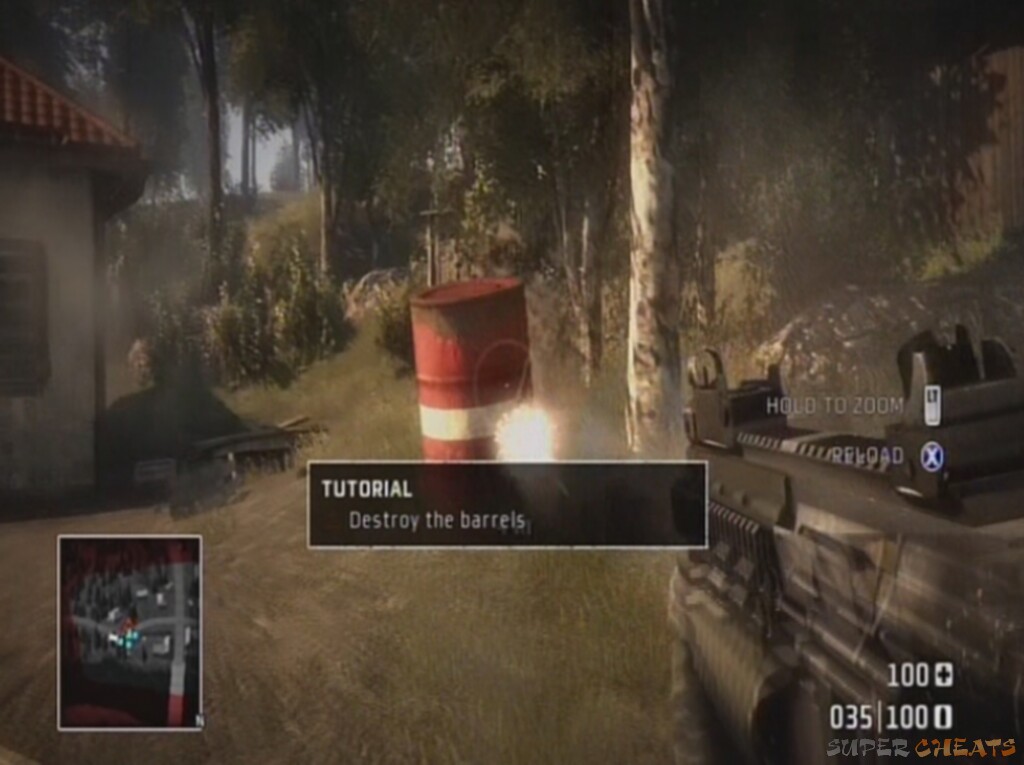 Blowing up barrels! |
Objective: Fill up on Ammo
Bad Company features many ammunition crates to satisfy the weaponry's otherwise insatiable thirst for bullets. Walk over to the dark chest near where the last barrel was and stand as close to it as possible to collect more ammo and complete the objective. An audible chinking noise will confirm when you are collecting ammo.
Objective: Blow a hole in the house
Press RB (R2) to change fire mode for your assault rifle and switch to grenade launcher mode. Notice how the on screen crosshair also changes. Remember that the grenade will arch in the air, so be sure to aim a little higher than the place you want to hit on the wall. Shoot one of these rifle-mounted grenades at the front wall of the house as marked on your map to complete the objective. Make sure you don't fire through the window as this won't count, though you can take as many tries as you need. Feel free to destroy the house and trees to practice!
 Destructibility adds a new dimension |
Objective: Find a power tool
The power tool for repairing the Jeep is located in the house in the back room. To enter the house, either blow a hole in the wall or use your earlier one, or shoot the door through. It would be good practice to get used to using Y (Triangle) to knife thin obstacles such as wood and wire fences at this point. The door can be destroyed in one knife blow. Press RB (R2) to re-select your gun, and then proceed forwards to the metal cases on the floor. On top of them is the power tool, which you can pick up with the B button (Square).
Objective: Repair the Vehicle
Move back out of the house at the front and walk up the road to your right to the damaged vehicle. Get as close as you can then aim at a surface and press Right Trigger (R1). You may need to reselect the power tool with the LB (L2) gadget menu.
 You'll be seeing a lot more of this |
A short cutscene about your next objective follows: to disable an artillery base troubling your troops.
Objective: Eliminate artillery crews
A major point of Bad Company is to choose the way you approach each mission. The easiest and quickest here is to use the vehicle you repaired, though you could walk if you wanted to be extra-stealthy. Your AI teammates rarely drive in the game, and so you now need to do some driving. Press Y (Triangle) to move around the seats and get acquainted with the different positions available in this regularly used vehicle, but make sure you are in the driving seat to proceed. The camera will either be directly behind and above the vehicle or inside it. Use Left Trigger (L1) to accelerate and LB (L2) to reverse and brake. Change the camera by clicking the Right Stick, rotate it by pushing the stick in a direction and finally choose a radio station with D-Pad down.
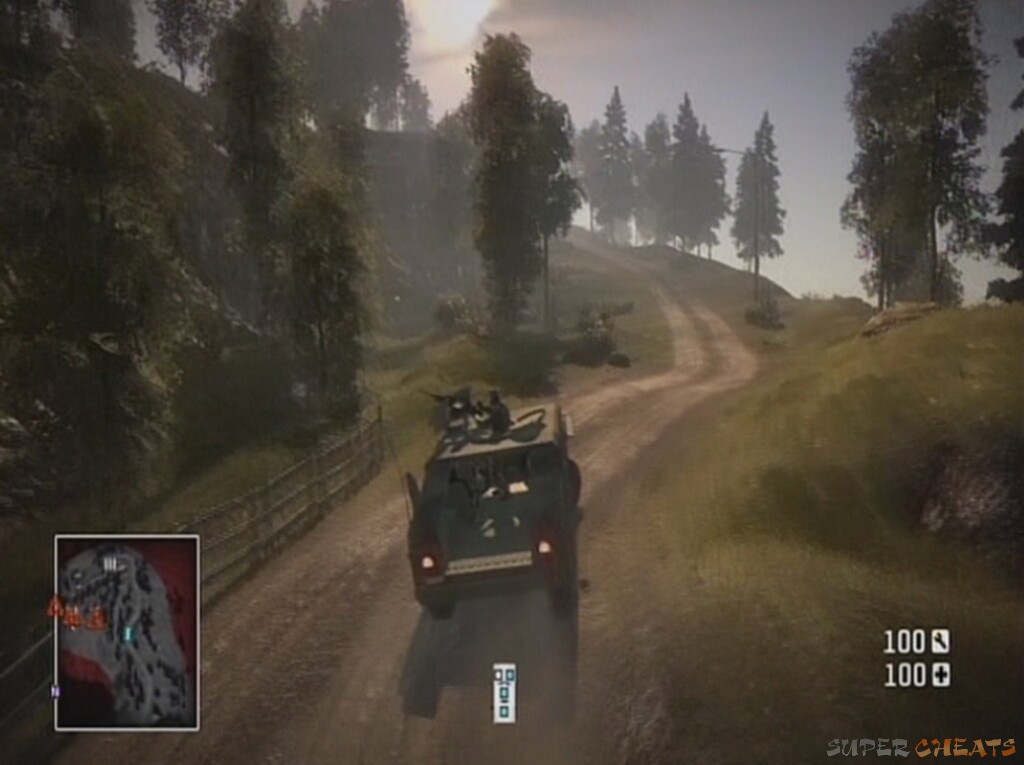 Vehicles don't take much getting used to |
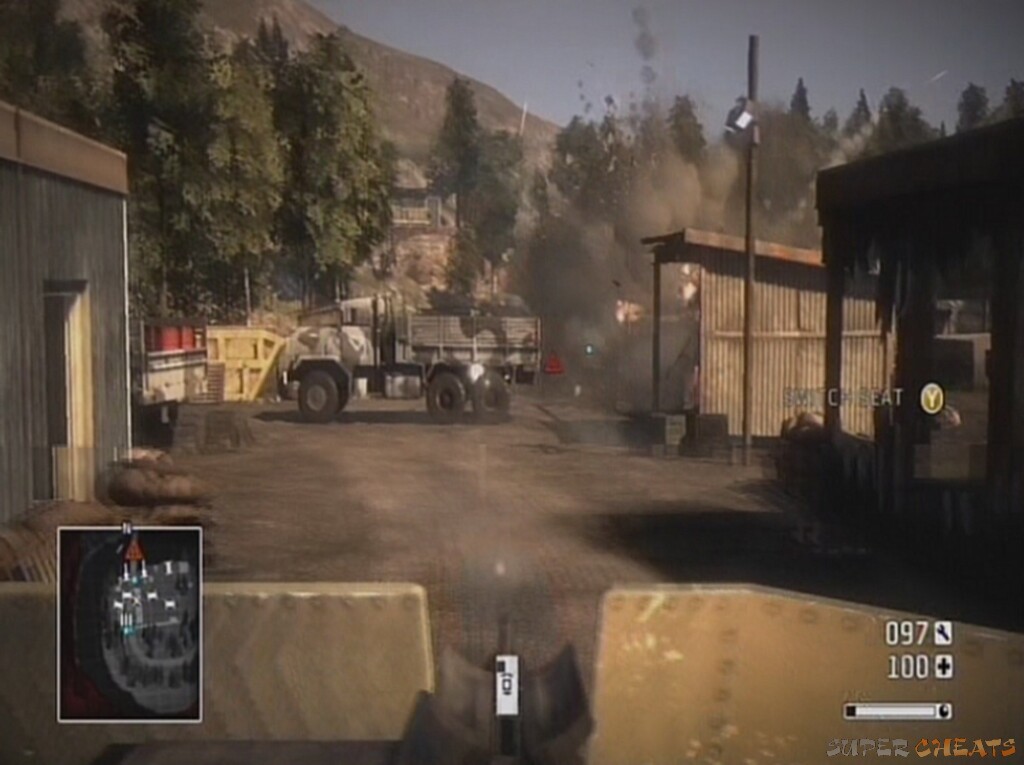
With the basics out of the way, proceed up the road until you reach the dead end where the road is blocked with crossed metal barricades. Exit the vehicle with B (Circle) and move towards the building on the left, climbing over the rocks and sandbags if necessary. There are no enemies in the vicinity until you reach the far end of the building. Use the window here to look down on the settlement below and take out any enemies you can see by looking down the sights to zoom in. One should be patrolling outside the house down the hill, while another should be inside the larger house itself. There are also plenty of explosive barrels (always painted red) to destroy any cover or enemies sheltering immediately in the house.
Move out of the building and proceed to the sandbags at the top of the hill, using your knife to destroy the fence silently. There will be one enemy hiding in the house on the right, you may be able to pick him off through the wooden slats on the window from here. If not, use either a grenade from your launcher, blow up a barrel to flush him out, or sprint down to the building and take him on in close quarters. That should be the last of the three enemies in this section. There is also an ammo crate back up the hill next to the radio tower, behind the stack of wooden crates. These are marked on the map with a three-bullet symbol.
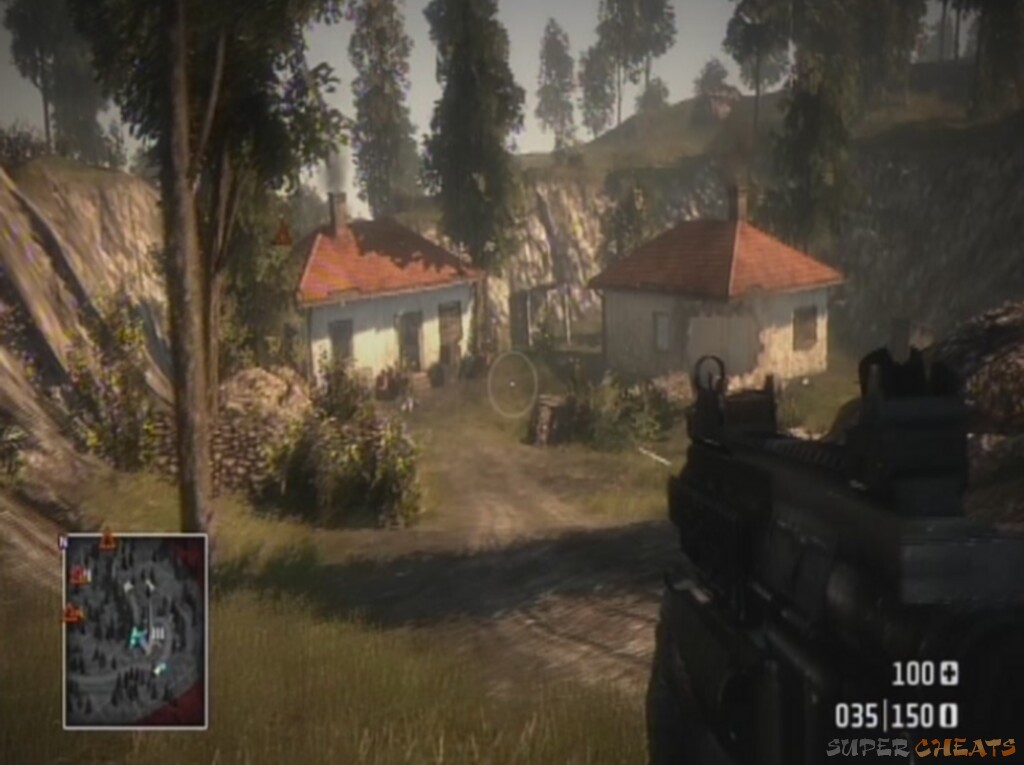 Your first enemy encounter |
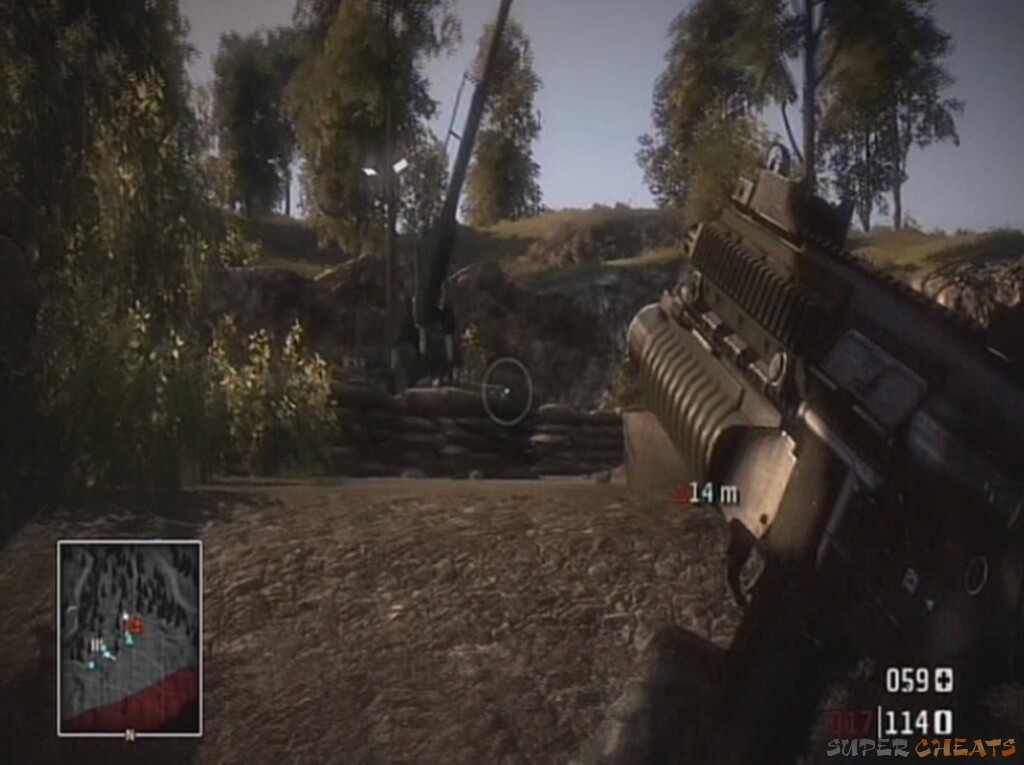
Move up through the house and towards the first artillery gun, which you may now be able to see firing in the distance. Reach the first set of sandbags looking into a gulley and stop; an enemy will come running at you who you should be easily able to despatch. Another may come after hearing the gunfire. Once the coast seems clear, move up to the end of the gulley and stop at the corner. Try and pick off the enemy manning the artillery gun if he has not already left his post. There will be at least three enemies in this area, so just make sure none are sneaking round behind you. To complete the objective you only need to kill the guards around the artillery guns, not destroy the weapons themselves.
The next gun is heavily defended. If you take cover on the corner before it, in between the two explosive barrels (safe practice is to destroy these first!) you can destroy a large and explosive, red crate by the gun, taking out any enemies nearby. Take out the man on the gun if he's still there, and clear the area. There will be about four enemies in the immediate vicinity. Once the red triangle has disappeared from your map, the area is clear and you can move on to the final gun. Note there is another ammo crate on your left as you move past this second gun amongst a square of sandbags.
 Using grenades makes everything a lot simpler |
Cautiously move along the path to the final gun; an enemy may well come at you before you round the corner. You should find five enemies amongst the gun, some on the left, others further away on the right. All need to be killed. Again, use the explosives to your advantage, and try and move up slowly to let your team follow (though often they will remain back, they do provide suppressing fire on occasion). This will complete the objective. Remain here until the next objective comes through; if this isn't happening, there must still be an enemy nearby. Move forwards if necessary to entice them out.
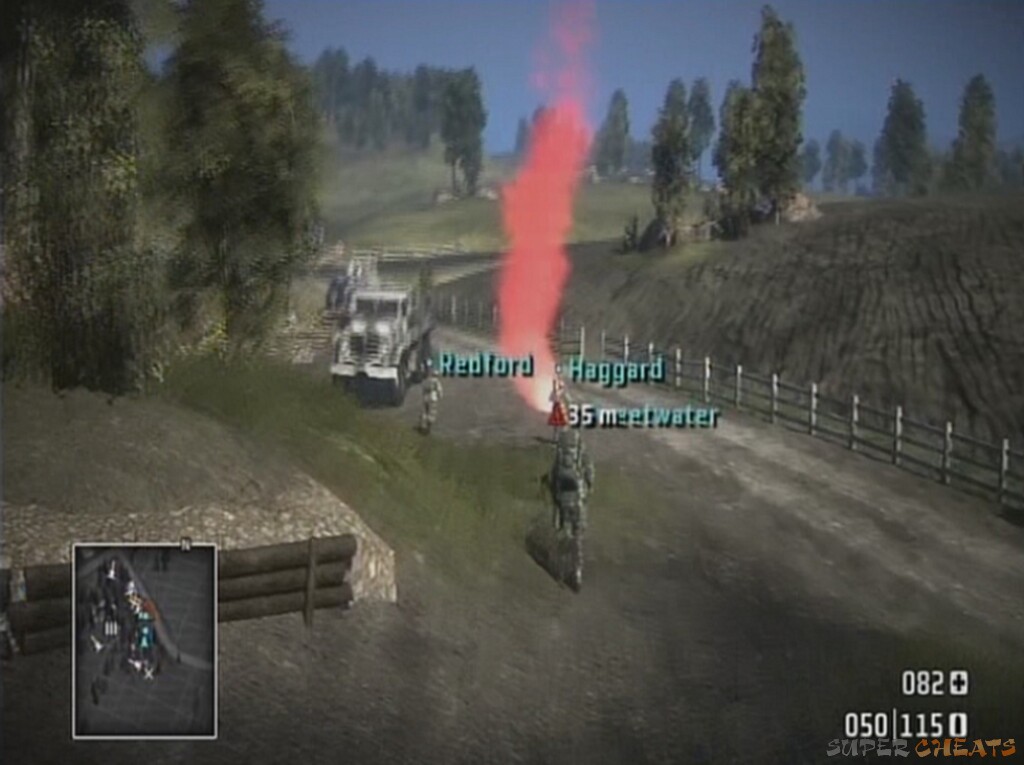
Sprint to avoid enemy fire
Objective: Regroup at the smoke
Move to the red smoke marked on the map by the third gun.
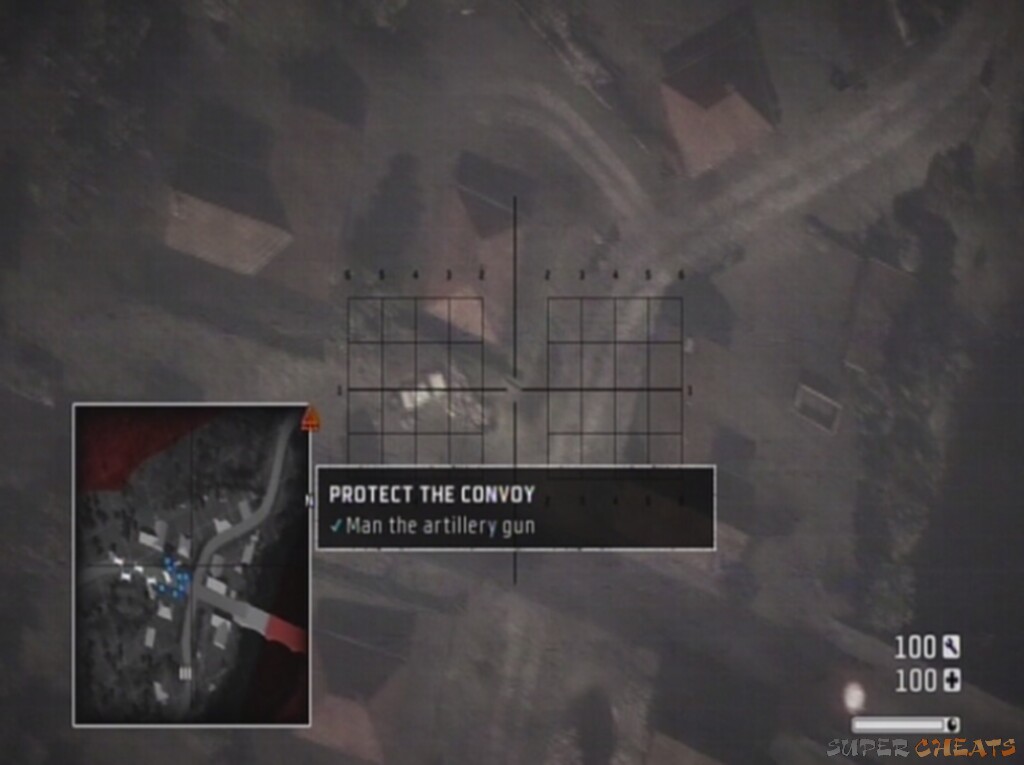
Protect the convoy
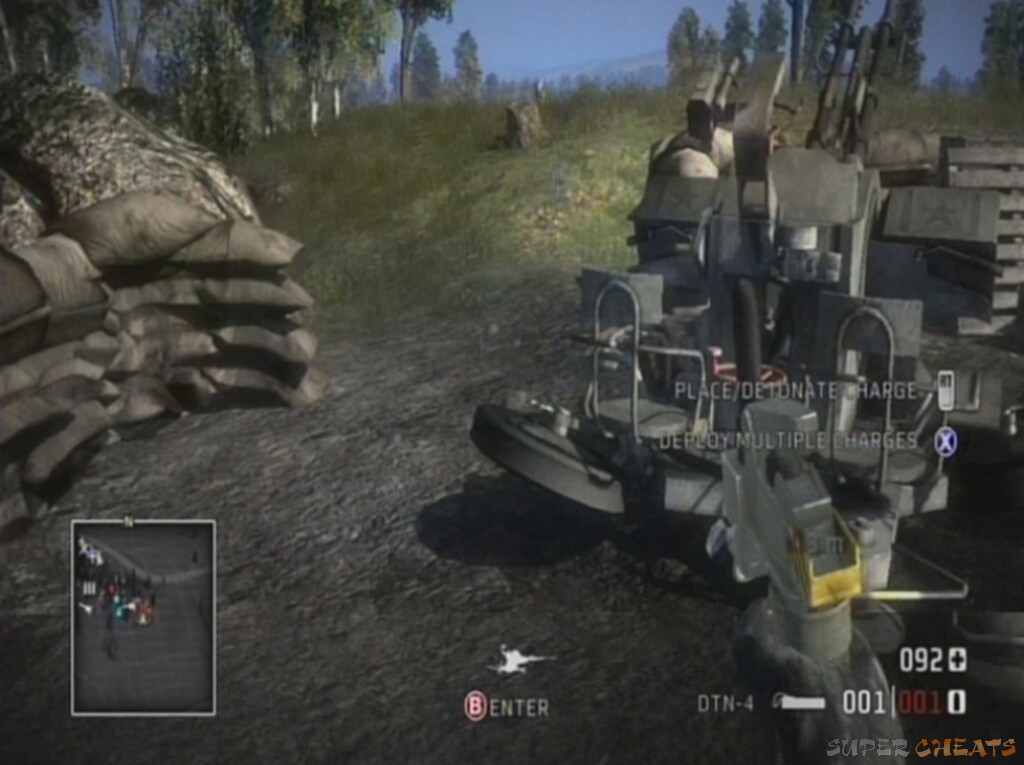
Objective: Man the artillery gun
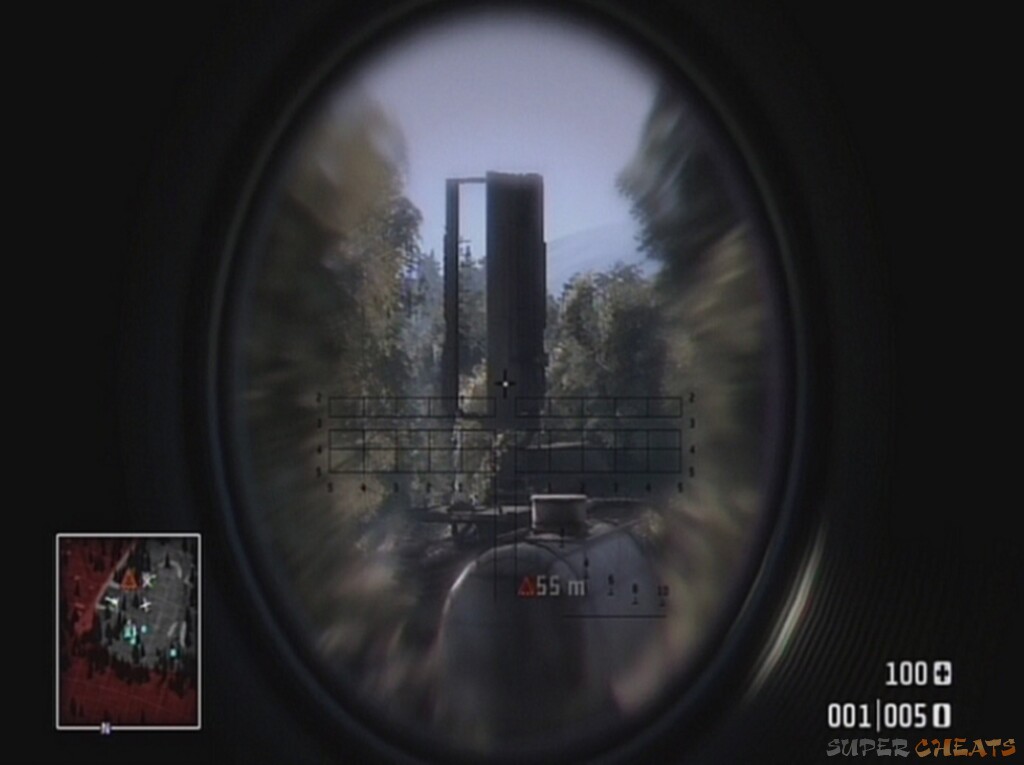
As the newest member of 'B Company' you are being given the risky job of shelling enemy troops with friendlies in the vicinity. Man the third artillery gun using B (Circle) while next to it. You will be transformed into an overhead camera, looking at a village.
 Artillery weapons are fun, but also very useful |
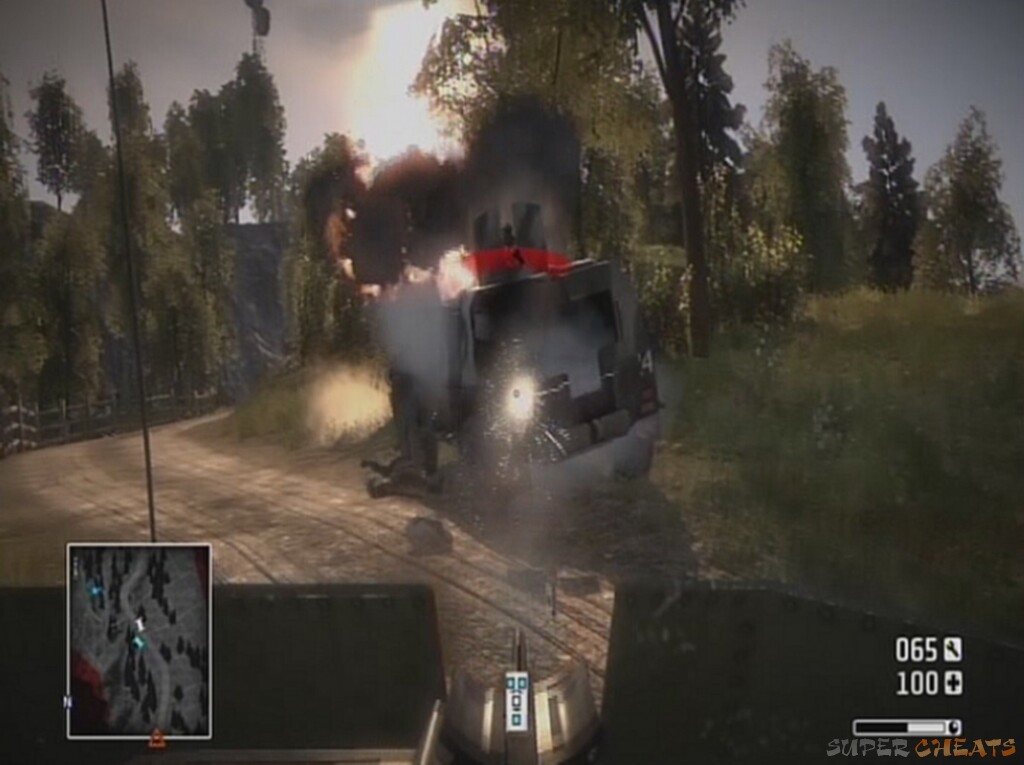
Objective: Shell the incoming vehicles
Use the usual fire controls of Right Trigger (R1) to destroy the vehicles approaching on the road to the right. Use the right stick to move the camera. You want to fire about two seconds in front of them to ensure direct hits. Some may take alternate routes to avoid your barrage. Locate them using the triangles on the map and take them out, while ensuring not to hurt the friendlies.
Enemy vehicles are terrorizing our troops |
A second wave will come in, again with three armoured cars. Once the gun has recharged, realign it and do the same as before. One may take cover behind a house.
A third wave of four cars in pairs will then move down the same road. It is very hard to fail this mission as your own soldiers on the ground are competent enough to destroy the vehicles for you. Just be sure not to shell your own men.
Miss July will then tell you to go and clear out a river crossing past the village ahead.
Objective Ram
Collectable weapon (3/5):
3. XM8 (part of the 'Search the house for a weapon' objective)
Objective: Proceed towards the river crossing.
Move along the coastal path for a few metres, and then take the turning on the right towards the road with the vehicle marked on the map. Be warned, an enemy armoured car will come at you. Have a grenade primed and ready in the launcher, or stay in cover. Be sure to take out the gunner on top first. You could also quickly man the gun in the empty vehicle to take out the enemy here.
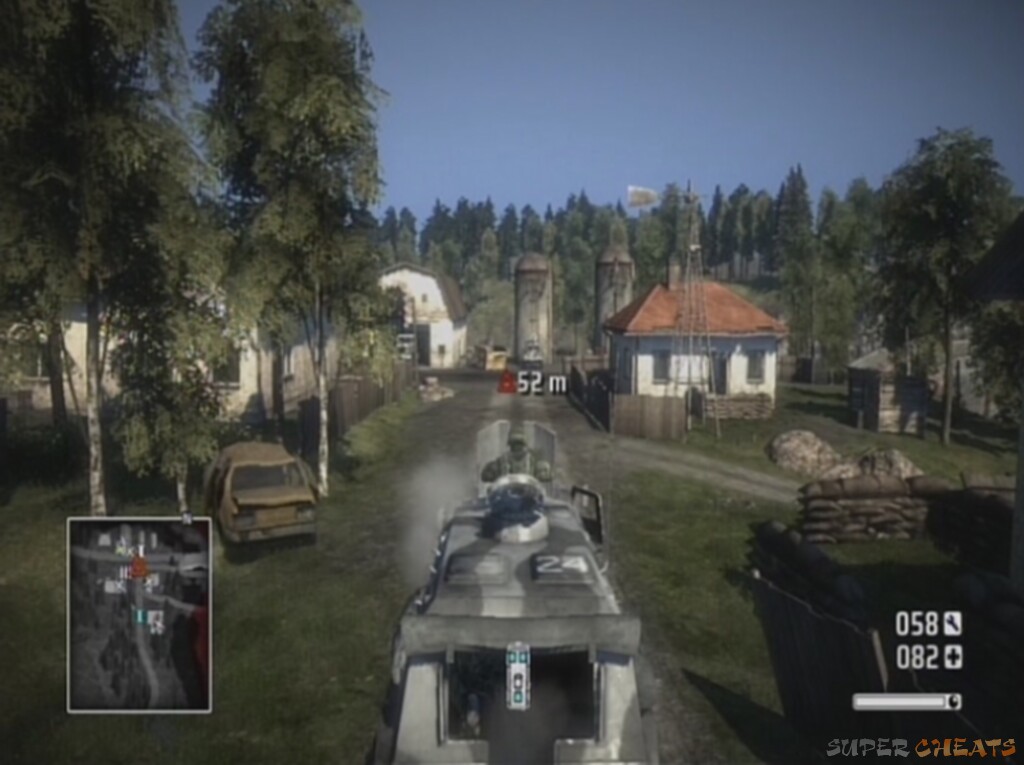
 Enemy armoured cars are not too fierce |
Get in one of the two vehicles (remember you still have the power tool to repair any damage) and drive towards the village. There are no enemies on this road until you pass the objective way past the village. You will see friendlies in the centre of the village, and pass an ammo crate on your way in.
Objective: Search the house for a weapon
You are volunteered to search the bombed-out house at the end of the road for loot. Take the vehicle as close as possible then exit the vehicle. There are no enemies in the house, just enter and go in the room straight ahead to find your first collectable weapon. Pick it up with B (Circle).
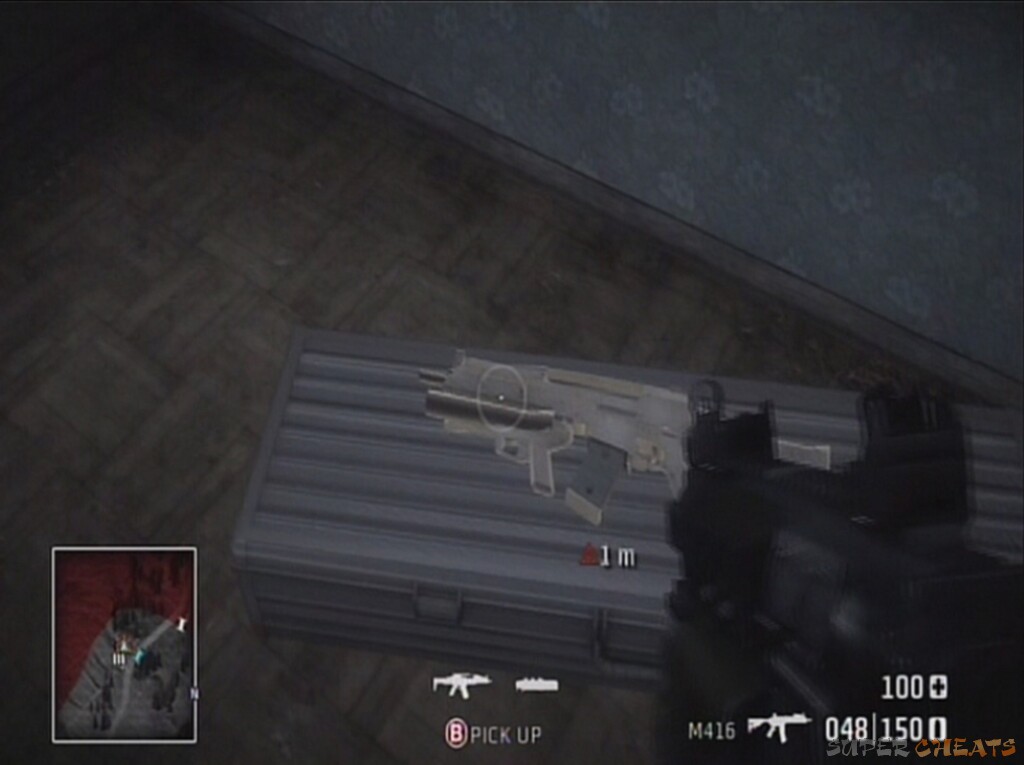 The easiest collectible you'll ever get |
Objective: Eliminate all enemies
Get back in the vehicle and drive along the road to the river crossing marked on the map. At this stage of the game none of the enemies have RPGs or explosive weapons, so you are safe to drive your vehicle right into the outpost and let your team do some of the work. You could stop on the road up high before you reach it and pick some off with your new gun, then move in, or go offroad and smash through the side of the outpost with the element of surprise.
The village carries surprisingly few enemies, but lots of explosive crates, so watch where you're driving/standing/firing. The biggest challenge is the enemies in the river, as you will have to move through cover to get shots at them. The best course of action is to man one of the two machine guns marked on the map with the same icon as the artillery earlier, and fire up at the hill which possesses many threats on the other side of the water. You could also use your vehicle's mounted gun as an alternative.
 The mounted gun provides much needed additional firepower |
You will be informed that you need to 'hold down the fort' until the friendlies arrive, and an ominous-looking tank will tear down the hill towards you. Fire off a few rounds if you want, but then leave your mounted gun and get behind some non-explosive, sturdy cover. The tank will fire on you, but soon a friendly helicopter comes in to save the day. There may still be some enemies left at the top of the hill, so once the tank is destroyed, get back on the gun and finish them off. Ensure all enemies in the area have been killed (cross the river if necessary) to complete the objective.
Objective: Regroup at the smoke
There is another power tool in the village if you need it, and an ammo crate near the road entrance. Otherwise, cross the river and climb the hill to reach the smoke. Take a vehicle for speed and security if you desire, though there are no enemies on the path. There is an ammo crate in the house to the left of the smoke.
As your friendlies enter the village, Miss July informs you that you need to scout out a farm and eliminate any hostiles.
Objective Mustang
Collectable weapon (4/5):
4. 870 MCS found at the house with the armoured car and infantry using the more difficult right-hand channel route.
Objective: Proceed towards the west farm
The vehicle you may have brought up here will come in handy, as you can use it to quicken your journey to the farm. There are plenty nearby and in the village if you didn't however. On the map after a short distance you will see a fork in the road. Take the right hand channel to get the collectable shotgun, or the left hand channel for an easier route. The right channel features an armoured car with about four or five enemies in a building. Use a grenade launcher or manual explosives to take it out. The shotgun is directly in front of you as you enter the front door in the house. The left hand route is clear, though the armoured car may pose a threat once you pass the shotgun house off the road on your right. If you are attacked, it may be worth getting the collectable anyway, as the armoured car was the biggest threat in the area to begin with.
As you get nearer the farm, you will reach another fork. Neither feature immediate enemies until you get close to the farm, but the right hand one allows for a more stealthy and better protected run up the hill. I recommend following the right hand road all the way round, before smashing through the first set of sandbags to take out a couple of foes. Enter the house behind the sandbags and use it as cover to eliminate the enemy on top of the tall grain silos.
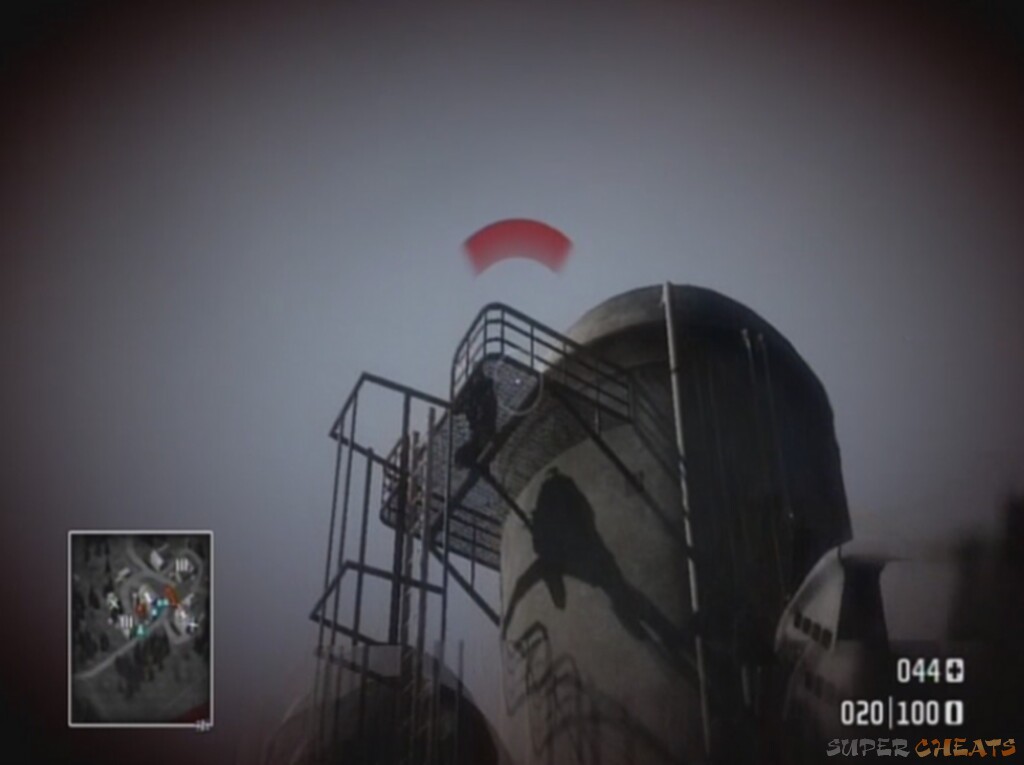 You have to check every dimension for enemies |
This unleashes a nest of enemies, so fall back to the first house if necessary. About a dozen enemies will come at you, and a prudent strategy would be to man the mounted gun on the armoured car parked to the left of the first house. Remember, press Y or (Triangle) to switch position. Move the car forwards if necessary to get shots at more enemies. With practice you'll get much faster at driving a small distance, then switching to the gun with good speed. There will be more than a few soldiers in the main barn, one down the road to the left of the barn behind a barricade, and one shooting from long range in the tall building on the hill to the right of the grain solos from the end you entered at. There is another armoured car in the central barn should yours get destroyed, but remember you have the power tool for repairs too. Once the eliminate all enemies objective is complete you may as well get it!
Objective: Regroup at the smoke
This is the confirmation of the all clear, so explore the farm and fill up on ammo or weapons, before heading for the red smoke at the north of the central barn.
There was in fact a tank in the double doors of the tall barn, so be prepared to get thrown out of the cut scene into live gameplay.
 Tank inbound! |
Objective: Destroy the light tank
Run into what's left of the main building and take cover until the tank moves round the side (use the map for guidance). As it's about level with you once you're positioned inside the barn (it won't shoot you if it can't see you), move deeper in near to where the armoured car was (or is, if you didn't use it). Pick up the rocket launcher in the far corner as the tank moves round the other side. You could do worse here than to climb the ladder in the barn (as you look north from the rocket launcher pickup). Here you are pretty safe, and can take shots out of the big gap at the north end. Crouch down and fire at corners of the tank – remember that if you can't see the turret, the chances are it won't be able to hit you, so go for marginal shots rather than ones smack in the middle of it. You can always get more ammo from the crates around the farm (consult the map). Two shots should do the job.
The rocket launcher makes short work of it
Objective Impala
Objective: Regroup at the smoke
Remember to pick up your power tool if you would like to take it with you instead of the RPG, before heading to the smoke at the south of the farm.
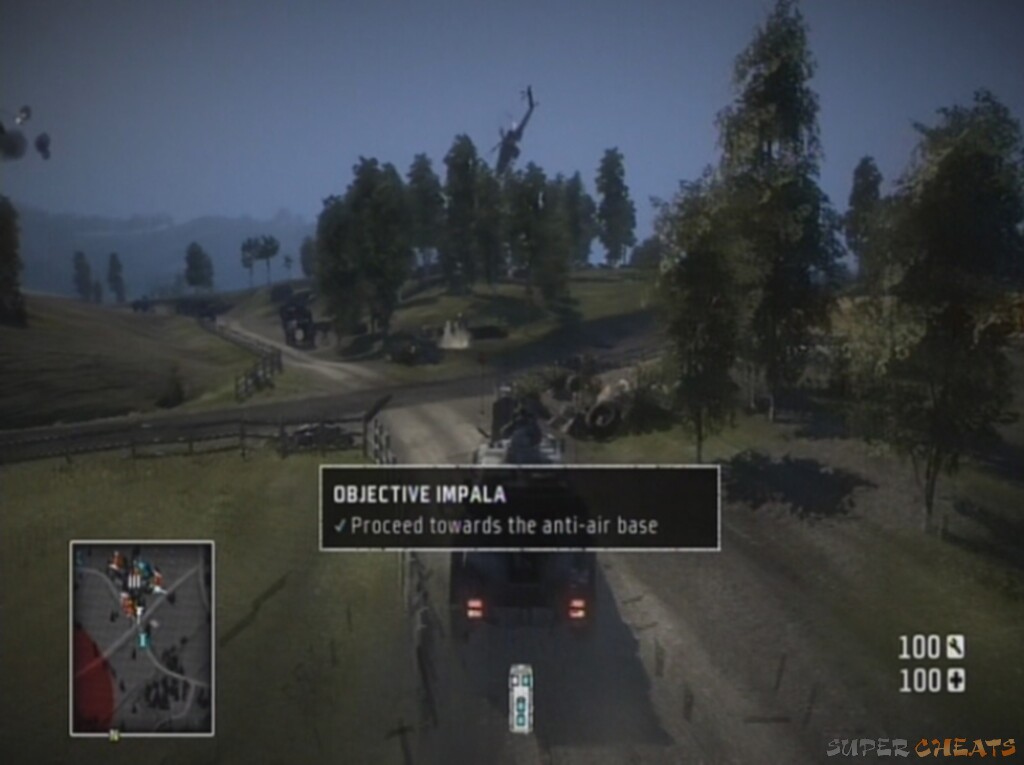
Better late than never, a friendly helicopter approaches, but gets shot down. With your transportation gone, you have to continue in the field and are sent to destroy an AA battery.
Objective: Proceed towards the anti-air base
Get in one of the many vehicles (repair it with a power tool if needed), remembering to fill up on ammo first. Head out of the eastern road of the farm and you may see a helicopter in the distance being plagued by AA fire, which is roughly where you will be heading. Stay on the road for the time being however. Turn left at the junction and proceed until you come under fire from (or reach) the sandbags and mounted gun just past the crossroads ahead. You can smash through the sandbags easily and take out the mounted gun, or park the car across the road and use it as cover. There are many enemies here, but either option is relatively effective. There is another collectable gun just past the mounted turret in the sandbags.
 The AA base |
Objective: Pick up C4 explosive
Amongst the same sandbags as the collectable and near the mounted gun is the C4. Pick it up. We'll need it to take out the AA batteries.
Objective: Destroy the anti-air guns
Move up through the tree line (you could take your armoured car if you wish), keeping an eye on your map for enemies. They will appear on the radar as soon as they are spotted by you or your teammates, or when they open fire. There is plenty of cover here, but take it slow, as there are outposts of enemies on each side as you move up. There are quite a few mounted machine gunners too. Move into the trench on the right as you come up the hill for additional cover, and take out the right hand base first. Leave the trench and move round the grass on the right if you come under too much fire, before taking out the mounted machine gunner who should be facing the wrong way, or will have dismounted to attack you. Kill the enemies guarding the AA gun while staying low (machine guns can hit you from other sides of the hill). Select the C4 from your equipment menu with LB (L2) and plant it with the Right Trigger. You only need one, so allow your character to bring out the detonator, ensure you are a good few metres away, and detonate (the edge of the sandbag circle should do).
 C4 is great for this sort of thing |
Move round the rocks on the western side of the map to proceed towards the most southerly AA gun. Use the contours of the hill for cover if necessary. The machine guns can take you out quickly even if you can't see them, as the top of your head may well be sticking out, so ensure your cover is decent! Use grenades or launchers to clear long range enemies, and move round to outflank the machine guns while your teammates keep them busy, using the hill's slope for cover. Stay at the base of the hill and use the same tactics to take out all the AA guns and their guards. There is more C4 available at the X's on the map, should you run out. You don't need to kill all the enemies to complete the objective, and your team will clean them up on the way to the regroup order if you want to be particularly quick about it.
Objective: Regroup at the smoke
Regroup at the northerly base of the hill at the red smoke nearby where we came in with the vehicle.
 The regroup spot |
Objective Bronco
Collectable weapon (5/5):
5. SCAR located in the southern equipment marker next to the river as you start this objective.
Objective: Proceed towards the east farm
Get in a vehicle, preferably with a gun (an armoured car would be ideal) again remembering to fill up on ammo, equipment etc. before leaving. Following the road you came in on, heading east, there will be no enemies, but one collectable weapon along the way. Once the houses come into range, get ready for a fight, though combat shouldn't begin until the current objective is recognised as completed.
Objective: Eliminate all enemies
Use the mounted turret on the vehicle while stopped at the first house if you have one to take out the guard high on the wooden structure at the far end of the farm, and any other guards firing at you initially. Get out before it blows up from too much damage, and sprint to the wall of the first house. There will be at least one guard inside, so blow the wall with a launcher or explosive and get stuck in. Climb up the stairs to the loft of the house for a great advantage in the rest of the fight. Blow your own hole in the roof for a section to shoot out of. There is also a RPG in this loft at the southern end, marked with a cross on the map. Use a combination of explosives and flanking away from the house to clear the rest of the buildings. Be sure to pick up RPG ammo at the western X if necessary as you'll need it in the future.
 A tricky little village |
Objective: Eliminate incoming reinforcements
Try and get back to a loft if you can, and pick off the incoming foot-soldiers. RPG the troop-carrier if you can, otherwise continue to take out the waves of soldiers. The loft in the barn structure at the northern end is a good place to take cover. Your team will control the bottom and keep the enemy at bay. There is also a mounted gun there, which is very handy indeed. Keep an eye in the distance as you may well see a tank shooting you from range.
If you can take it out in the field over the river then you'll save a lot of bother later (see the end of the video below for its exact location). After about three truckloads of soldiers, this tank will come into the village if you didn't manage to destroy it. Stay in cover until you get a comfortable RPG shot. It will struggle to hit you if you're crouched at the rear end of the barn's loft because much of the roof is indestructible. Otherwise, move round the side of the buildings, watching for enemy foot soldiers, until the shot is on. Again, two RPG rounds will do it. You should be able to take all of the soldiers out from the loft.
Watch for enemy armour!
Objective: Regroup at the smoke
Your friendlies are again just too late to get in on the action. Stock up, and regroup at the smoke in front of the barn.
Objective: Follow the convoy
Get in a vehicle of your choice, preferably an armoured car, and move out along the eastern road. The convoy will wait for you, so feel free to explore and stock up a little first. Stay well behind it, as it will be on the receiving end of yet more shelling.
Objective: Regroup at the smoke
With the convoy fleeing or destroyed, exit the vehicle and sprint to the smoke. The artillery shouldn't kill you even if it hits your position.
Air support is again promised, but found lacking. You need to destroy some radar trailers to allow the air support to come in. Be on your guard as soon as the Miss July transmission finishes, as at least one Russian soldier will come down the bank across the lake.
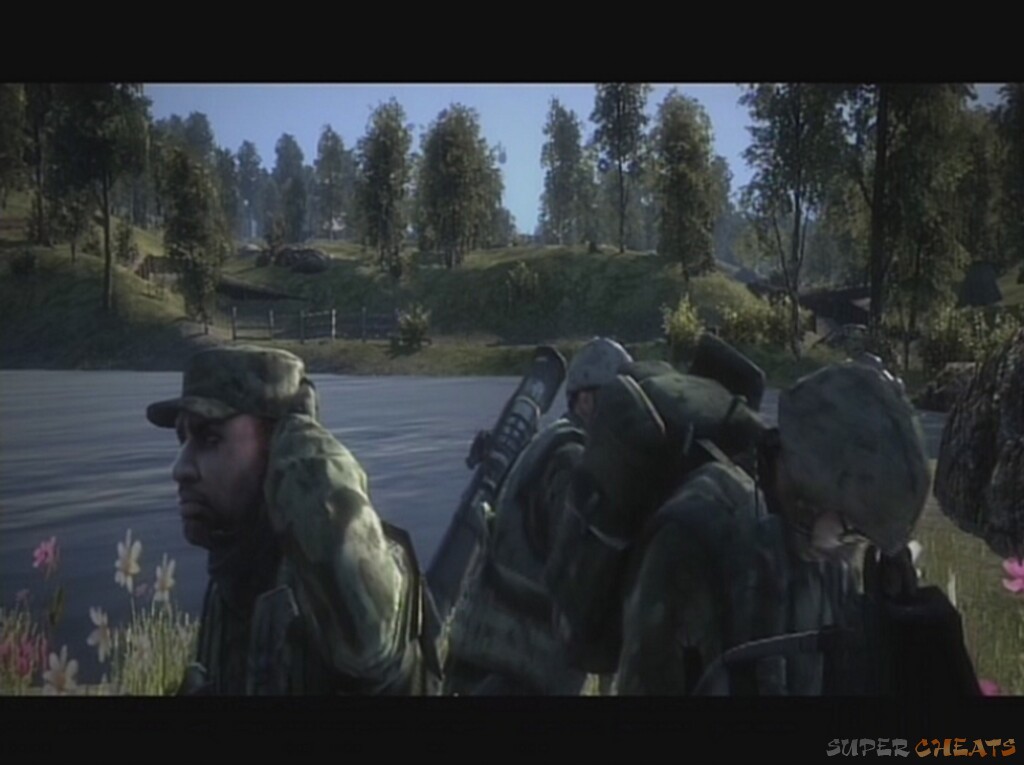 It may look picturesque, but all hell's about to break loose. |
Objective Taurus
Objective: Destroy the radar jammers
You can move quite quickly through here, not least because of the artillery barrage keeping you on your toes and the enemy in cover. The trench on the right provides good cover for yourself, but there are no soldiers until you can see the towers ahead of you – these contain mounted guns and enemies. If you RPG or grenade the top of the towers it completely destroys the upper half and the enemy cover. Try and do this from distance to avoid being pinned down. The artillery fire is really just for effect, so try not to be too fazed by it as you move through.
Move up until you are level with the towers and flank to the left towards the first (most northerly) radar jammer (a large green tower, with a large rectangular similarly-coloured mass next to it). It isn't that well guarded, but there will be at least one enemy in very close proximity to it. Stock up on grenades at the ammo crate in the western tower if you need to, before unleashing your fire on the radar jammer (any part should do). You can also use C4, which is located in the more southerly tower and between the two in another equipment location. One C4 or a few grenades should destroy it. You may have the RPG from earlier too, allowing you to complete the objective from long range.
 An RPG from long range |
With one destroyed move onto the next one, bearing in mind that there are enemies in the distance to your left as you pass over the hill. Use the same techniques to destroy it.
Objective: Regroup at the smoke
Meet up at the sandbags by the red smoke on the edge of the hill. Stock up on ammo and equipment before this final section first.
Objective: Move in and secure the base
Man the mounted gun by the regroup point and fire to the east into the valley. Try and pick off as many soldiers as you can. Their weapons are relatively weak at this stage, so you shouldn't be in danger of any one-hit-kills from their guns. On the Hard difficulty setting you would be better to move up and try and pick them off using the iron-sights on your gun as the AI are very good shots and will kill you fairly promptly if you remain on the mounted machine gun for too long. When you've done all you can from the high ground, move down to cover in the valley. Use the hill slope and sandbags for cover, and watch for enemy fire to learn where to point your gun.
The enemy AI are not afraid to move forward, so keep an eye on your radar and make sure you are not getting outflanked. Try to move through the gulleys. This is quite a hard section, but if you die you'll respawn back at the top of the hill. Use the height advantage again if this occurs to take out any enemies that have moved in. There is an ammo crate about halfway towards the objective, which you may well need to use. Otherwise the enemy soldiers will drop plenty of ammunition should you need it.
 The mortars are mainly for effect |
Once you pass the ammo crate another wave will hit you. Watch out for mounted machine guns nestled in the buildings near the objective. On Hard these will take you out in under a second, so try to flank round and hit them from the side. If you take the left (northern) path there is a large hill that will cover you from the machine guns until you have a decent flanking position. With the machine gun down, the rest should be simple. Move in and enjoy the cutscene.
Sweetwater has found out that you were in fact fighting the Legionnaire's army, a highly-paid group of mercenaries. In fact, they're paid in gold bars. Finding one on the body, this sparks the hunt for the rest of the campaign. For now though, the army is still in command, so a few more routine missions are on the agenda.
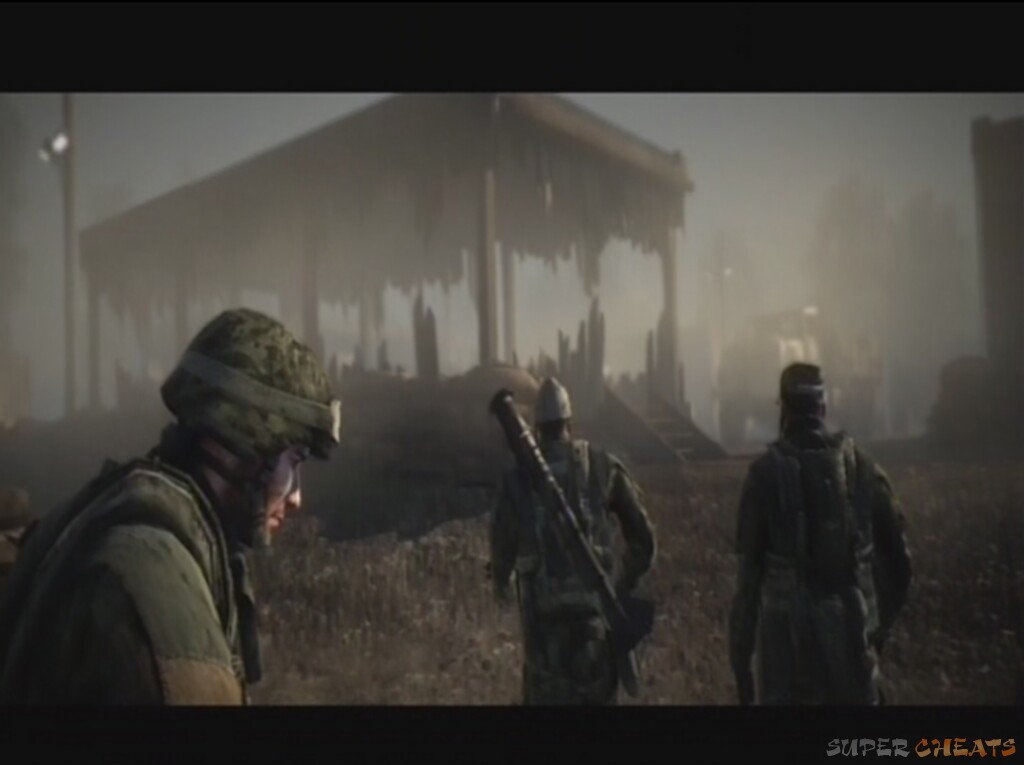 The first sign of gold |
No comments yet. Tell us what you think to be the first.