7 - Ghost Town
Battlefield: Bad Company Walkthrough and Guide
Battlefield: Bad Company Guide
Level 7: Ghost Town
After dropping off the President in his remote exile location, the task ahead is to locate the Legionnaire's tanker, which the gold is being loaded onto. We have to take the discreet and therefore the long way round to get to it.
Reach Sadiz
Collectible weapons (1/6, 2/6, 3/6, 4/6, 5/6 and 6/6):
1. An AUG can be found on dead soldiers in this section and there is also one by the pair of equipment spots located in the village.
2. T194 is also dropped by soldiers in this section.
3. A 9A91 can be found on a few of the dead soldiers.
4. A GOL sniper rifle is dropped by the sniper on top of the tower.
5. There is a SPAS15 in the blue portacabin on the right as you enter the base in 'advance towards Sadiz' marked with an equipment spot.
6. During the 'destroy the two bridges' objective, the house with an equipment marker by the sea as you flank along the right-hand beach contains a guard armed with a QJU88. You can also find it on other enemies during the 'reach Sadiz' section.
Gold (1/5, 2/5 and 3/5):
1. In the 'advance towards Sadiz' objective, the gold is on the first floor of the second building on the right, by the water tower.
2. Find this in the 'advance towards Sadiz' objective, located in the fenced area by the ammo crate after the first set of tanks if you stay on the right flank as you advance.
3. Near the start of the second 'advance towards Sadiz' section, as you pass under the pipeline and take out the gunners on top of the building and the emplacement below, the gold is to the right of it.
Objective: Eliminate all enemies
First things first, we need to clear the beach. Follow the team along the path until you reach the brow of the hill, looking down on the village below. Move onto the hillside and pick off as many bogies as possible from height and over long distance.
 Clear the beach |
Before long a series of mounted guns will become aware of your position, including a rocket launcher, so rush down to cover in the buildings of the village. From the first building you should be able to pick off the rocket-turret on the roof of the building due northeast.
There will also be an armoured car occupying the street and you can either climb up and use the rocket turret we took out earlier or simply grenade launcher it using your own primary weapon. You can work your way underneath the mounted machine gun and climb up through the building to take out the gunner at close quarters. From this roof you have a good vantage point for securing the rest of the beach too.
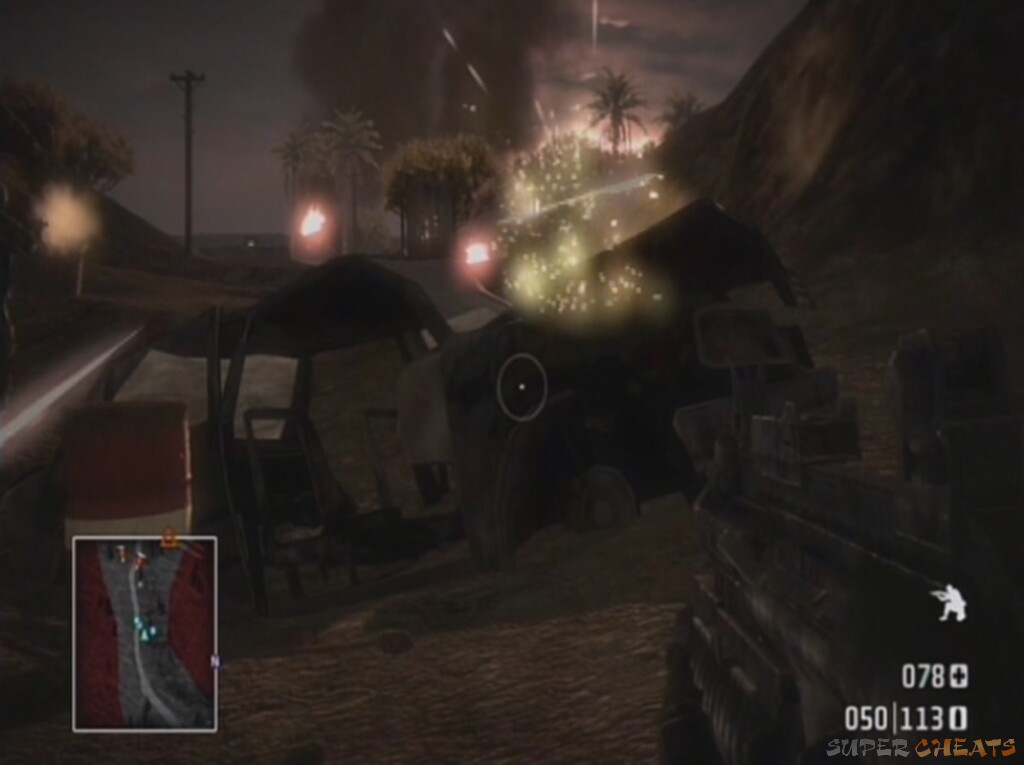
A tank will come rolling down the slope to the east which will disrupt any plans you had for a continued stay on the roof of the main building. Jump down and man the rocket turret on the northern building's roof. Use it to take out the tank before it has a chance to destroy the position. The turret itself and the structure of the building should provide enough cover for you to get off three or four shots, though two should do it.
 Tank inbound |
Objective: Regroup at the smoke
There are lots of weapons in the equipment spots located in the area. There is also a power tool in the southernmost building and equipment spot, which we'll most certainly need. Stock up, then move into the red smoke next to the building we originally used for cover and the high-ground on the roof.
We now let Miss July in on what we're doing. She can't help us, but informs us that US forces are coming into the area. They'll be in a perfect position to make things more difficult for us.
 US interference is apparent |
Objective: Advance towards Sadiz
Man the tank located at the far east of the base and move out up the road the enemy tank came down, again, due east of the base. Follow the road as it curves round. A village will appear ahead of you. Move slowly forwards, using the tank's turret to take out immediate enemy threats. There are at least three RPG soldiers in the front barricade and first two portacabin buildings in the corner of the base, as well as an explosive turret by the front sandbags which is extremely hard to hit from the lower ground. Try to take them out quickly using the tank, otherwise, use the power tool to repair, then move forwards and shoot, repair, move forwards and shoot, and repeat.
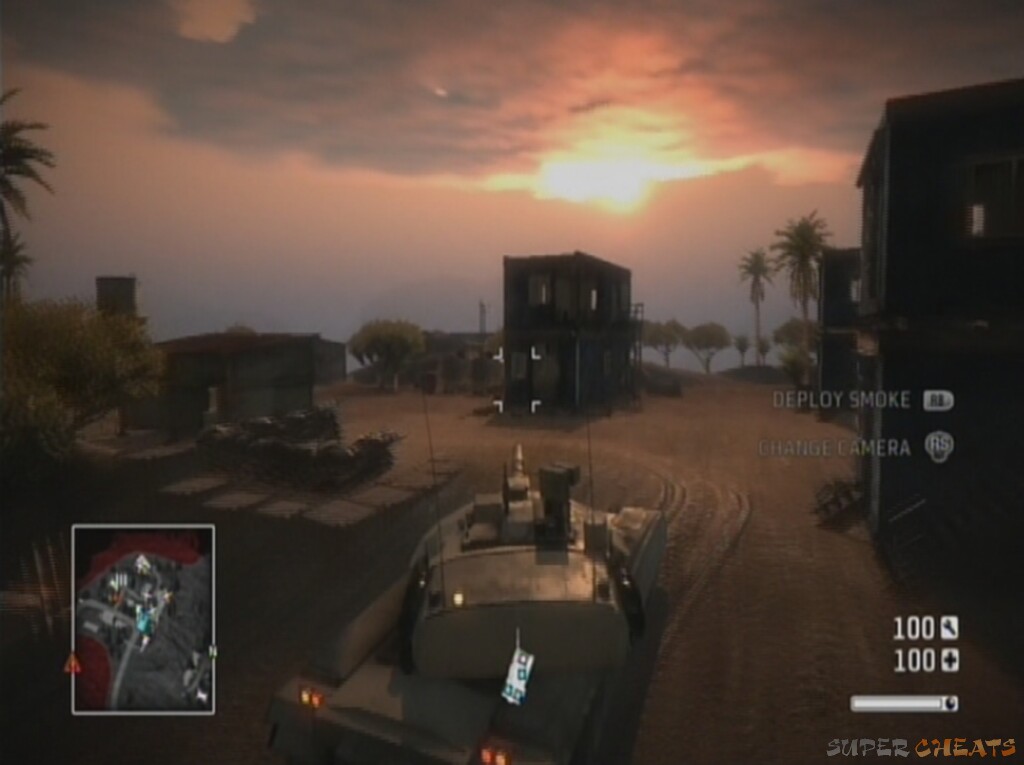 Blow the base to smithereens |
There is a spare tank in the area, so losing it is not the end of the world, but this section is far easier if you drive the tank around the base and pick enemies off from inside your bulletproof shell.
Circle round the inside of the base until it's clear enough to move through safely. Continue along the road to the south, but be wary of the mounted RPG launcher not far down the path. Follow it up the hill, now heading east. The Americans are being mutilated by artillery fire, but we don't necessarily have to intervene.
A convoy of enemy tanks will bear down the road towards you. Cut off to the right into open desert to lose the majority and let the artillery do the work. An enemy tank will break off the group too, once the shelling starts. Use a combination of smoke and turret fire to take it out, or drive straight past – it takes a long time to move a tank's turret round 180 degrees, and you can use this to your advantage in this situation. Use these tactics for the other tanks in the area if you enter a combat situation with them. Head towards the objective marker, turn off the road to the left and commandeer the artillery gun. Once manned, you can pick off a good few tanks from extremely long range using the same technique seen in level 1. It cannot function at short or medium range however. At the very least you can clear the road we'll be using shortly.
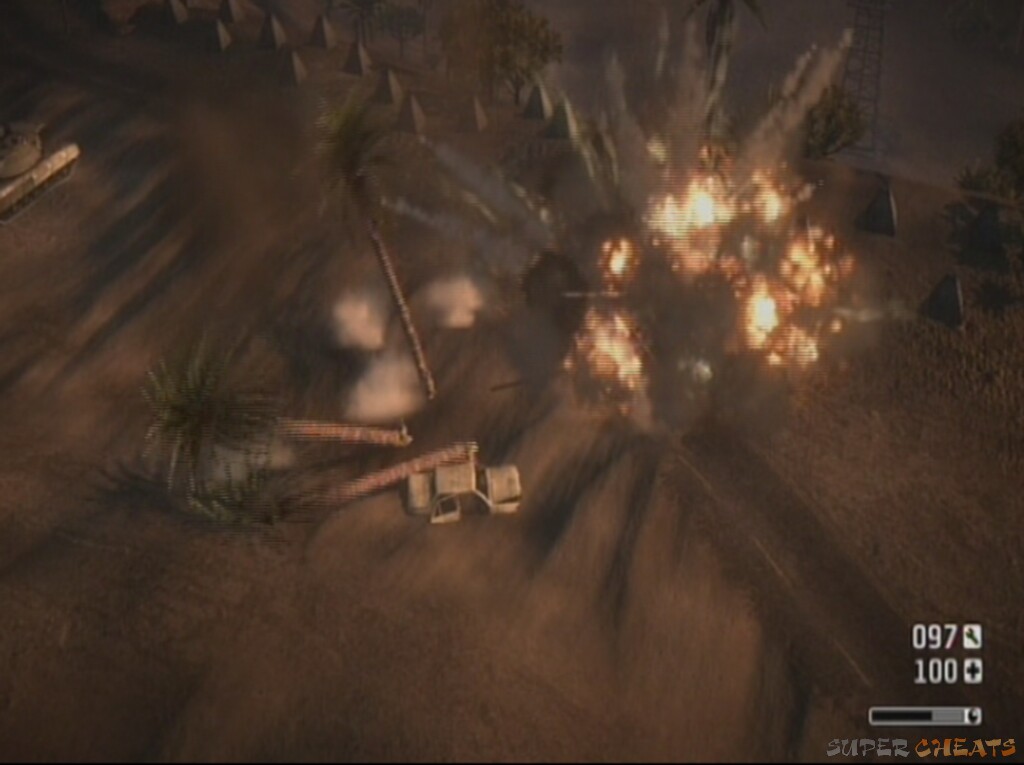 Tanks helpless against artillery |
With that done, get back in your tank and continue. While in artillery mode it is likely that the enemy will have moved up to you position. While the gun itself is covered, your team will draw a lot of fire and even your tank may be destroyed. There are plenty more located across the map, directly west of the artillery for example. Enemy tanks may be on your position now too, which has its advantages (they are no longer blocking the route to Sadiz) but makes escape tricky with no explosives. If you fall back and head east there is another artillery position, this one with fewer guards. You can't reach much more with this one, but there is an empty tank located nearby (south of this artillery station), and going in this direction is a good way to lose the enemy attention.
More tanks vs. tank combat
Man the tank or continue in your one from before if it's still accessible. Proceed south through the sandbanks. Head into the various dips and troughs to avoid enemy fire, but try to forgo any encounters if you can. Use any clearances in the hell storm to repair your tank, even using smoke to cover you if necessary, as the enemy will never fire blindly into the smoke (bizarrely). As the road heads steeply downhill, bending so that it is nearly off the map (northeast corner), turn off into the oil field to the right of the road.
A convoy of enemy tanks will move along the road, but fortunately US artillery intervenes and the objective is complete.
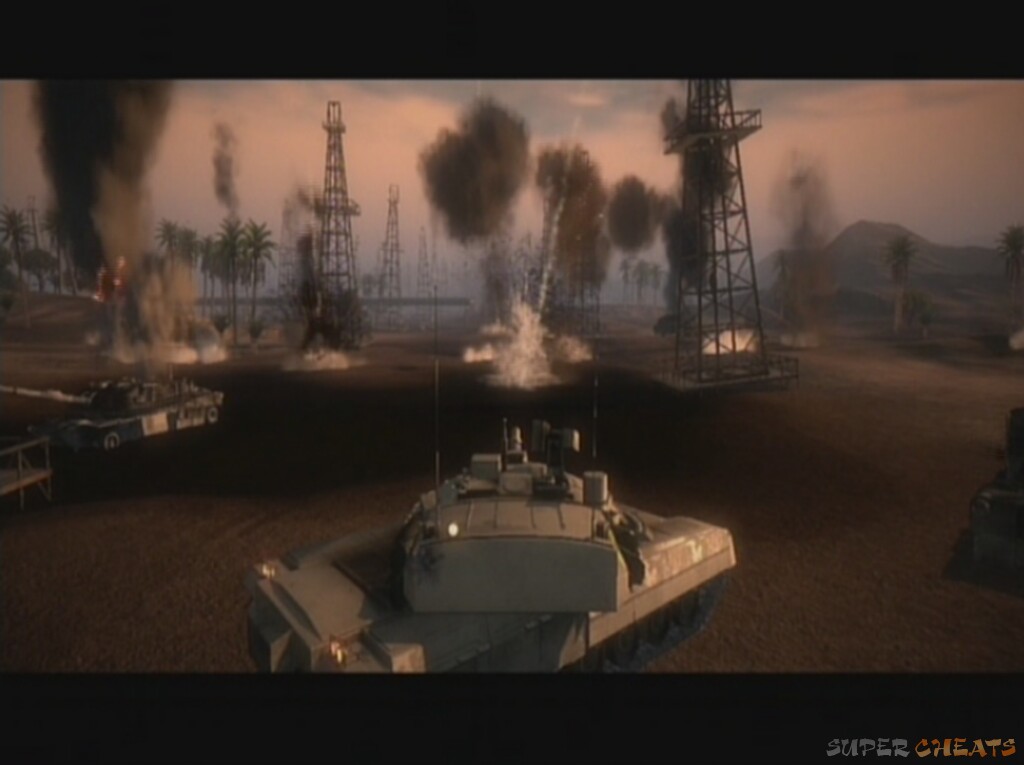 |
The good news is that the US are now launching a counter-offensive – so that's one more thing for the Legionnaire and co. to worry about. The bad thing is that they're coming in a little too fast and will get to the gold before we can if nothing is done to halt their advance.
Objective: Destroy the two bridges
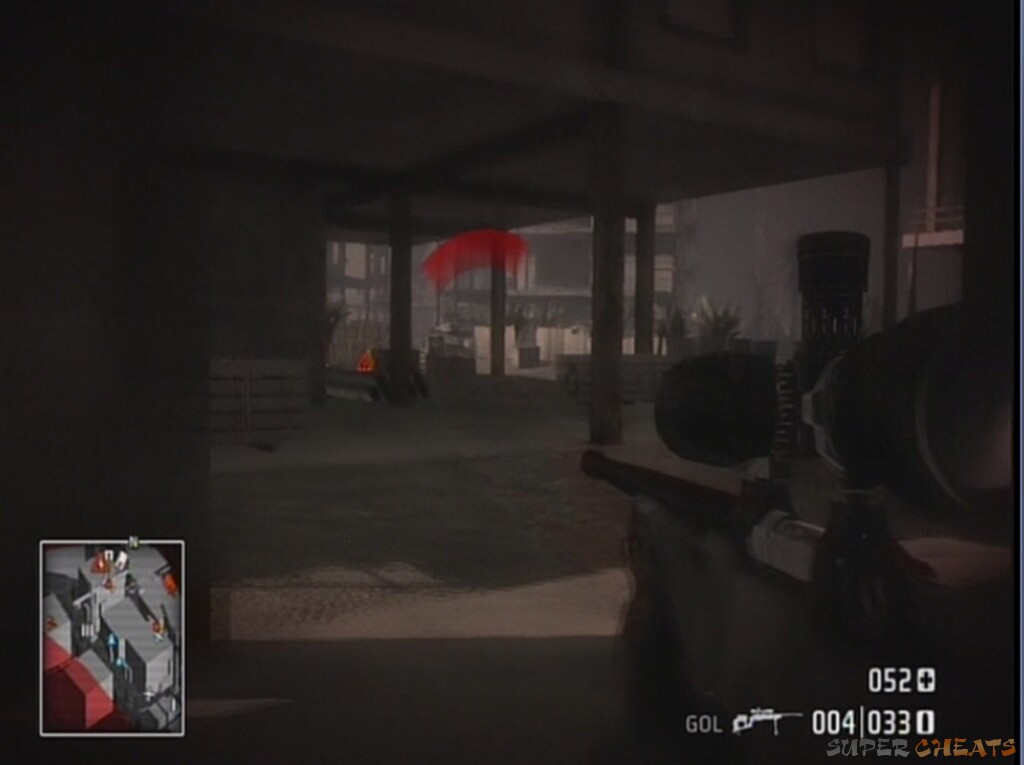
Follow your team up the hill path heading west to get a splendid view of the city below. To slow the US advance, taking out the two bridges they need to cross should do. This is a timed section and you must blow the bridges before the tanks reach them. If you die, it counts as failing to destroy the bridges and you have to start back up on the hill with no enemy deaths registered. Move down the path, picking up the C4 on the way, then stick to the far right, between the out-of-bounds area and the road itself. It is possible to flank along here, taking out anyone in the windows of the buildings and reach the first bridge with a minimum of enemy encounters. Sprint along, staying right when the road forks and the dry stone wall starts. Ignore the sound of gunfire unless you're physically being hit – most likely it's your teammates. There will be one RPG soldier on the roof of a building, one of the few you will actually need to take out.
Keep going until you can physically see the bridge next to the last building in the row, and enter through the side door.
 The building with a perfect view of the first bridge |
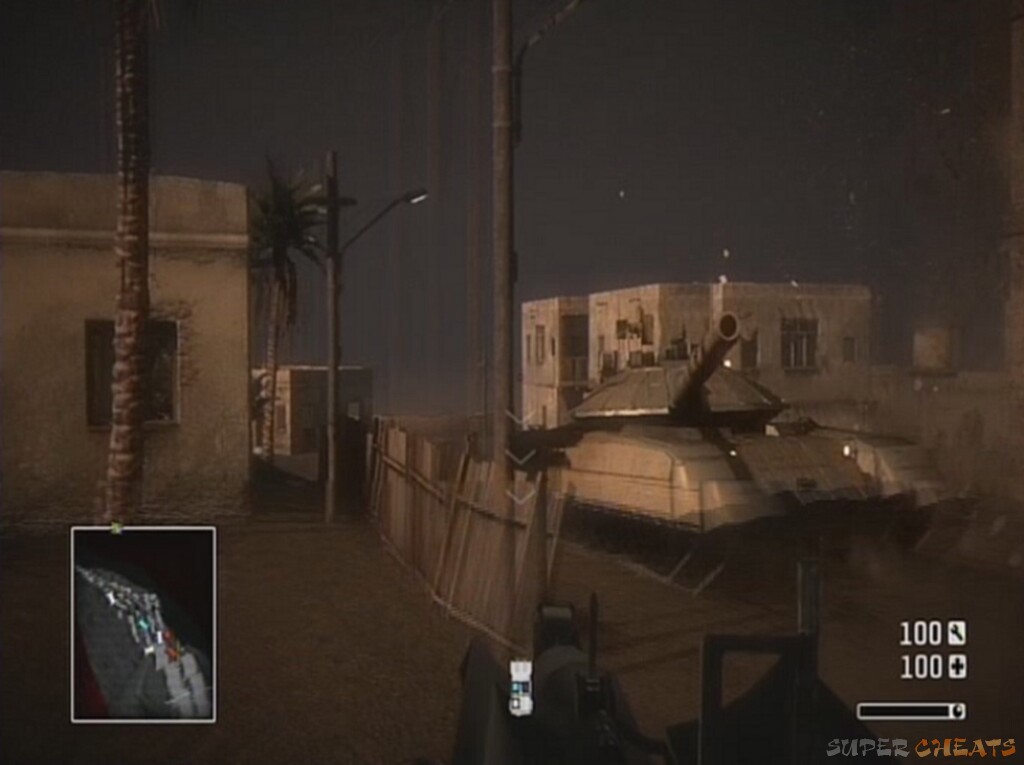
There will now be a tank in the street outside, but first things first, get up to the roof using the stairs, then the ladder on the balcony and man the grenade turret. Fire a few rounds at the bridge to destroy it. Grenades or launcher rounds from your primary weapon would also do the job.
Now we have the tank to worry about. Lob some C4 rounds off the roof to land as near to the tank as possible, or jump off and get some right on the shell. If you move quickly the tank shouldn't have time to get a shot at you before you get back in cover. Detonate them. Use your primary weapon grenade launcher or manual grenades to finish the job if necessary – the window from the bottom of the building provides a decent spot for close range and accurate fire.
With that taken care of (you need to equip an assault rifle with a couple of grenade launcher rounds or at least get some C4, so find some downed enemies or equipment spots if you don't have these first), sprint along the riverbank in a southerly direction. Move down the bank to become close to the water. You shouldn't come under fire here. Use your primary weapon grenade launcher to blow a hole in the bridge once in range, or C4 once closer up.
How to deal with the tank and the second bridge
Objective: Advance towards Sadiz
Cross underneath the bridge and swim over the river. Climb up the bank on the other side. Head straight into the first building (the one on the corner of the road with the door facing directly onto the riverfront). Go up the stairs and eventually up the ladder on the balcony. Pick off as many enemies as you can from the roof. There will be one enemy on a roof up higher and a good few in various doorways and windows.
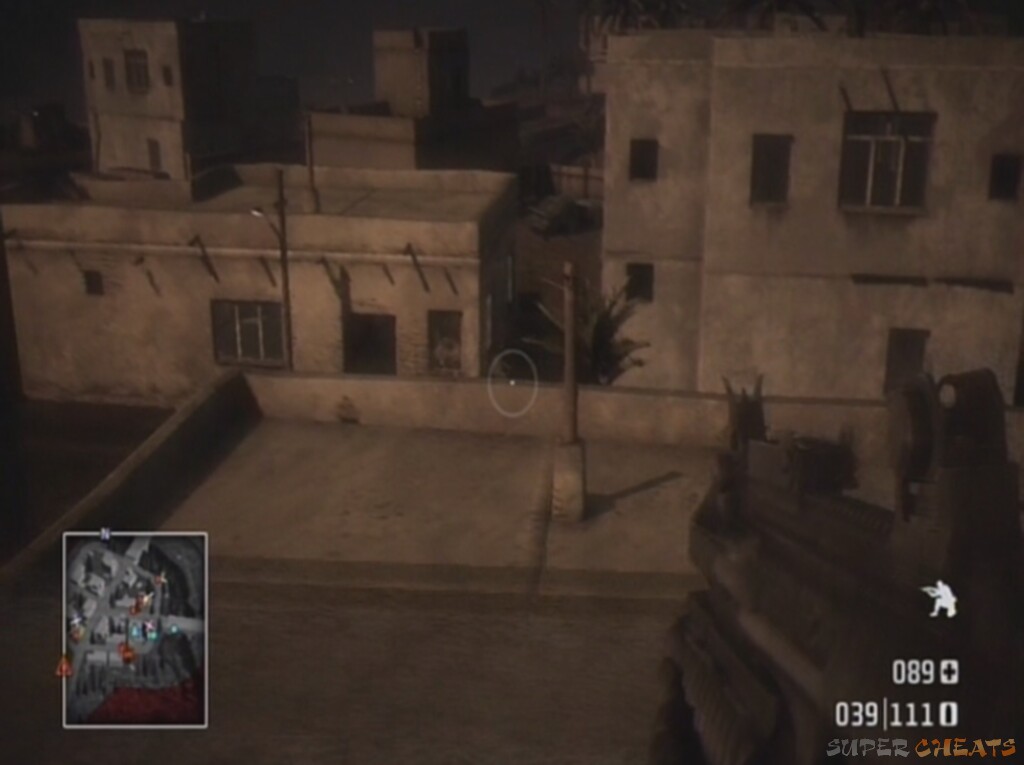 Pick enemies off from up high |
Your friendly tank shouldn't be too far behind now, most likely providing assistance from across the bridge. Clear the area around the buggy at the western fringe of the base, or locate another vehicle of your preference. Jump down off the roof and sprint for the vehicle or simply sprint up the road heading southwest leading towards the objective. A vehicle is simply quicker, there are no enemies on the way until you get right to the top.
At this point there is a pair of machine gun emplacements. Without a vehicle it is trickier to get close to them, but use the shell of the car and crates farther back as cover and pick off the gunners while they are focusing on your team. With a vehicle simply get up close and switch to the gunner seat. Use the crates on the left hand side of the road to take out the right hand gunner.
 Sketchy cover, but it's all there is in the area! |
Past the guns and amongst the pipelines are various infantry units who shouldn't provide too much resistance at this stage in the game. As you approach the point at which you could crouch underneath the pipeline you'll notice another mounted gun by a building to the north. Use the shell craters for cover and take it out while crouched from below. You should, for once, be able to get a shot on his legs whereas he'll find it very tough to get any significant hits in at you. The same goes for the enemies on the roof of the building. You'll find a sniper rifle in the northwestern equipment spot which will be useful in the future. Sprint up the hill and into the smoke.
 We're getting close now |
Reach the gold
Gold (4/5 and 5/5):
4. In the opposite direction to the silo used to create a diversion is a three-story building, the second to last structure on your left. The gold is on the top floor.
5. In the second building in the construction site (the one with an enemy tank) during the 'locate transport' objective there is a set of swimming pools on the right-hand side. In between them is the final gold bar of the game!
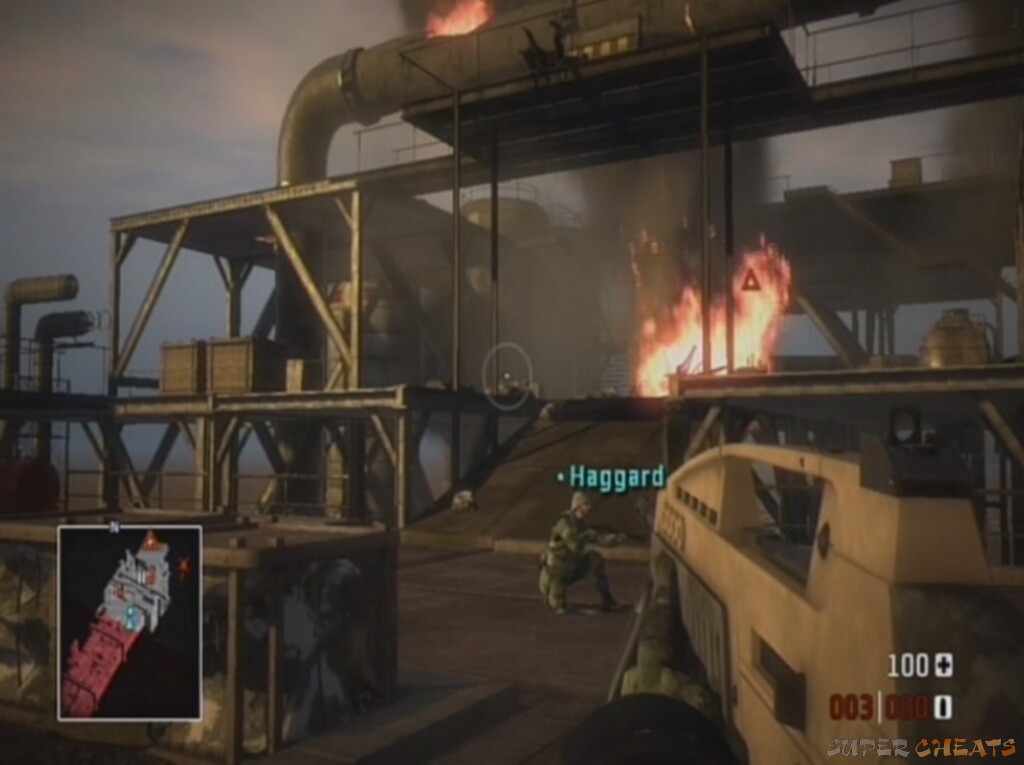
We're splitting up now, with Haggard and your task being to create a diversion to keep the mercs busy while Sweetwater and Sarge locate the gold.
Objective: Pick up supplies
Miss July informs us that there is an army drop as thanks for helping them out with the artillery earlier. It's easy to reach, requiring no enemy encounters and should be able to create a neat diversion. Sprint down the bank, knife the fence and turn right into the house with the red smoke on top. Go up the stairs then out onto the balcony, round the corner and up the ladder.
 The route to the top |
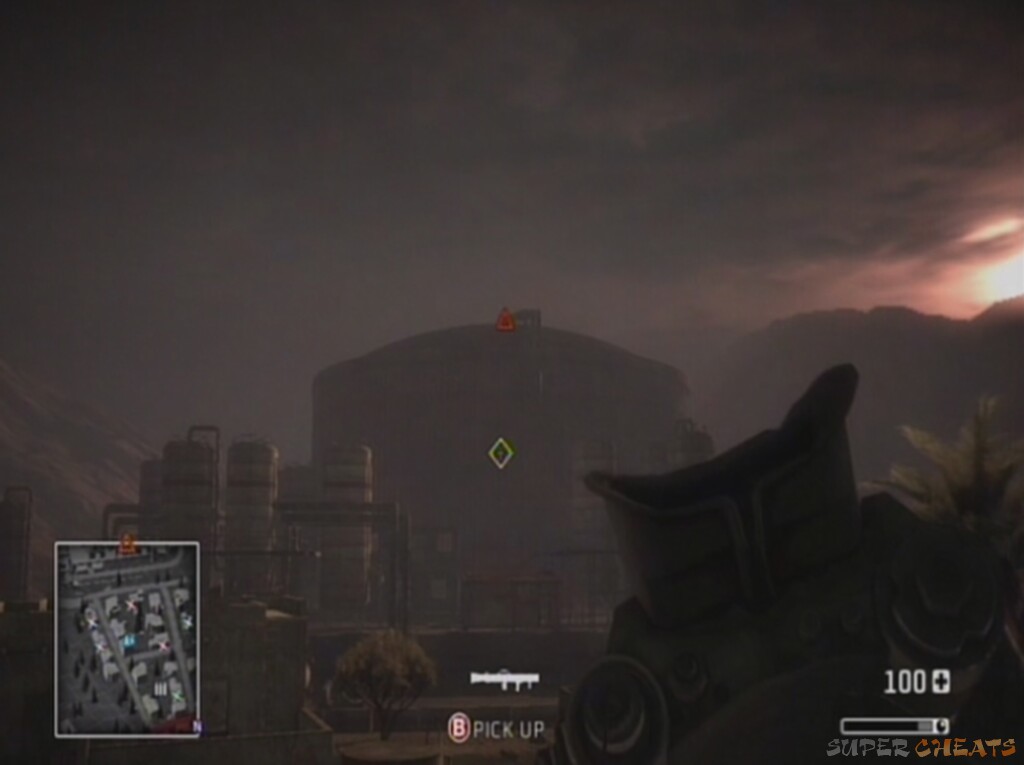
Pick up the laser designator.
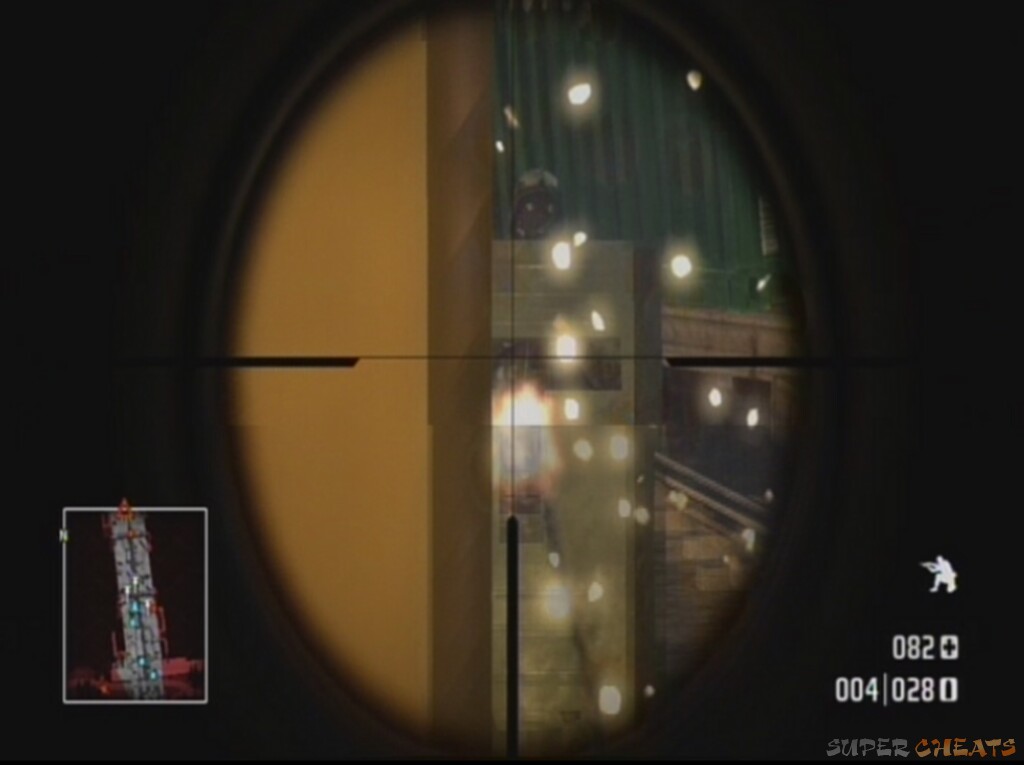
Objective: Use the laser designator on the silo
This should create quite a bang! Use LT (L1) to aim and press and hold RT (R1) to confirm the shot as the two white bars converge on each other. The silo is the massive cylindrical object in the distance marked on the map with the objective indicator. You can aim at any part of it and can hardly miss.
 Designate that! |
Then guide the missile in using the right stick.
Enemies will be coming out of nowhere now, in particular tanks from the northeast.
Objective: Move out
We need to meet up with Sarge and Sweetwater, but can't do it with enemy armour in the area, so use the laser designator on the northeast tank. At least one more tank will come in; use the same technique for this one. The current section isn't timed, so pick off as many infantry as you can from your rooftop position too, before moving down. Climb up the hill at the northeast to avoid enemy fire and give yourself an advantage, moving along it towards the objective. You can completely avoid most of the city's guards using this strategy.
As you get nearer you'll come under fire from a tank near the objective marker. Designate it, steer the missile accurately to destroy it and continue. Stay on the hill as it curves round towards the objective, picking off any enemies that come near enough, but don't leave the hill until absolutely necessary. Get to where the tank now lies in ruins to complete the objective.
Run to the hills to avoid enemy fire
Sarge spotted an unoccupied car on his way through and we can use this to get to their position as quickly as possible.
Objective: Locate transport
Move along past the tank and towards the construction area. There are no enemies until you get underneath the unfinished buildings. Use the yellow skip on the left for cover and tackle the enemies from this direction. Stay left, ignoring as many aggressors as possible as they are too numerous in too many different directions to take head on. The tanks shouldn't harm you too much, if you don't directly engage them at least. Continue until you get within range of the mounted machine gun blocking the route at the end. Take the gunner out through the eye slot from distance and move up to trigger the objective. You could always laser designate one of the empty tanks (this is not the transport assigned to us) and steer the missile into the machine gun if you're having trouble.
 It's crowded in there |
Objective: Get in the jeep
Sprint to the jeep, again ignoring enemy gunfire.
Haggard is driving and you really don't need to worry about destroying too many enemies. Just enjoy this bit, take out as many as you can with Haggard taking care of the evasive maneuvers. In fact, you should get through with 100 health and no vehicle damage by the end.
 Haggard's not a bad driver |
Defend the gold
We've found the gold. Heaps of it. There is a problem however, we have no way to get it out of the enemy territory. Then we come under fire from the Legionnaire himself, or more specifically, his helicopter.
Objective: Reach the anti air gun
This is an extremely difficult section, made easier if you have a sniper rifle. Move up slowly, sticking to the left hand channel. You have to try and ignore the helicopter as much as possible. Cover from it when necessary, but taking it on at this stage is a fruitless procedure.
The first ground-based enemies come in the form of mounted machine gunners, spreading a perimeter across the middle of the ship. If you want to show off, you can laser designate the helicopter, then steer the missile into the gun emplacements. It's a fun maneuver, and quite productive too. Otherwise, sticking to the left channel, take out the nearest gun emplacement low-down. Use grenades or a sniper rifle to make the easiest shots. On the walkway above there will be approximately three soldiers. In comparison to everything else at this stage, they're easy to take out.
 Picking off the gun emplacements |
Move up until you're in line with the other machine gun and take it out from the flanking position we now have over it.
Continue until you come upon the next mounted machine gun. You should be able to sprint from cover and leap up onto its platform to knife the gunner. Otherwise use the more traditional options of grenades/bullets. While moving quickly is important, there are plenty of enemy infantry armed with grenade launchers etc. that will cause a quick death if you fail to notice them as you sprint through. Like before, you also need to take out the enemy soldiers on the raised platforms behind the mounted gun. They can take a serious amount of damage, so be aware.
We are now nearing the AA gun. Take this section slowly though as the area is crawling with enemies and we need to go by most of them to get near the gun. You may need to sprint up the steps to get decent shots on the guards or to avoid the helicopter bombardments – just don't go up while it's heaving with enemies. Make your way to the back to find the AA gun is destroyed.
 The AA gun is nearby |
Objective: Take down the Legionnaire
Climb the steps at the back to get onto the Helipad at the top. On the northern edge is a RPG in an equipment spot. Pick it up (there is an Xbox 360 achievement for successfully laser designating (and hitting) a helicopter, but this is hard and doesn't actually destroy it, so only try it if you feel like showing off). Covering behind the crates on the edge of the pad gives you enough protection to survive multiple helicopter passes.
Equip the RPG and wait for it to hover still, usually while it's firing at you or your team. Firing while it's on the move is satisfying but not very economical in terms of number of rounds for each hit. You can get more RPG ammo at the crate on the floor below if needed. Use the map so you can see which direction it's coming from, move round the crate if you come under fire, and shoot it twice to destroy it.
Taking down the Legionnaire
With that done, the level is complete.
With the Legionnaire down, the gold is ours for the taking - or apparently the US Army's. They've moved in and commandeered the gold. Thanks to some quick thinking from Sarge and ourselves, the Army soldier assumes we are part of his squad and assigns us to drive one of the trucks out of the base. Perfect. The final cut scene sees us turn off the road from the convoy of gold trucks, and a strong hint of a sequel in showing that the greasy legionnaire is still alive. Sarge has his fishing trip, Sweetwater has grad. school and Haggard has Truckosaurus Rex.
 The gold is almost ours |
No comments yet. Tell us what you think to be the first.