Twilight Ruins
Thank you for printing this page from www.SuperCheats.com.
Remember to come back to check for updates to this guide and much more content for Bravely Default
Follow this guide to hear about updates
Last Updated:
1F
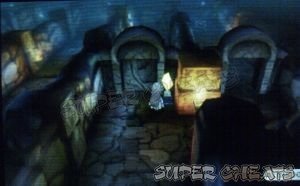
As soon as you enter the dungeon, you'll unlock a new party chat. (Anxiety) Follow the path and you'll find a two doors and a crystal. Activating the crystal will open the door ahead but will close the other. Before activating the crystal, get the Hi-Potion from the chest in the corridor to the right then backtrack to activate the crystal.
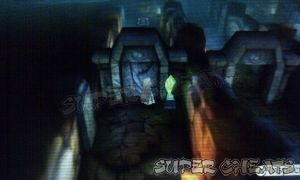
Continue forth and you'll encounter an open door to the west. Don't go there yet; instead, go to the adjacent corridor to find a green crystal. Activate it to reach the chest inside containing an Ether. Leave the corridor and activate the green crystal again. Backtrack to the main path and continue forth. Once you've reached the northernmost corridor, head east to find the last chest in the area. Loot the Remedy from it then go downstairs to the west.
B1 East
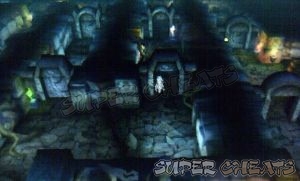
Go to the left a bit then loot the chest to the north to get 500pg. Backtrack then activate the crystal to open the door to the south. Follow the path and ignore the door with the green crystal for now. Go straight to the north past the red crystal to find another chest containing a Zeus's Wrath. Now backtrack a bit then activate the red crystal. Backtrack once more then activate the green crystal this time. Continue forth and you'll find the stairs going down. Go past it and head to the southwest to find another chest. Open it to get 1000pg. Backtrack to the chest and use to go to the next floor.

B2
First, enter the corridor where the yellow crystal is then activate the green crystal. This will open the path for you to claim the Birch Bow from the chest ahead. Activate the green crystal again then activate the yellow crystal nearby next. Enter the next corridor then activate the light-blue crystal. Loot the Hermes Sandals from the chest and activate the light-blue crystal again. Now backtrack and take the path in the middle.

Follow the corridor as it goes around to the west. Head straight north to find a chest containing an Ether. Activate the red crystal next then check the southwestern corridor to find another locked blue chest. Just take note of its location for now then go upstairs to the northwest.

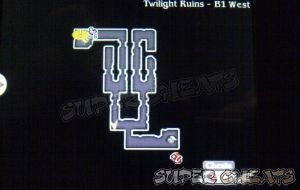
B1 West
Head to the north and loot the chest past the red crystal to get a Turbo Ether. Activate the red crystal then go through the newly-opened doorway and find the hidden chest in the dead-end. Loot the X-Potion from it then backtrack to the green crystal.

Activate the green crystal then go south again and activate the yellow crystal as well. Now go to the corridor to the left but go south instead. You should be able to access a hidden corridor leading to a Courage Ring in the southeast corner. Backtrack and head north. Activate the light-blue crystal afterward.This will give you access to the chest that has a Dark Charm inside. Activate the light-blue crystal again and go straight ahead. Head to the west a bit to find the adventurer. Save and prepare your party. Go upstairs afterward for a scene.
Western Hidden Village
The reunion was interrupted by the sudden appearance of two members of the Council. You'll be engaged in a boss battle afterward.

| Victoria |
| HP: 60,000 Weakness: Light, FAM: Human |
| Victor |
| HP: 60,000 Weakness: Dark, FAM: Human |
 |
| This battle can't be won. You have to survive for four turns before the bosses leave. Use default and health consistently. |
After they leave, watch the following scenes. Once the scene is done, a new party chat will become available. (Agnes' Anguish) You now have to awaken the Water Crystal. Use a Teleport Stone to return to the dungeon entrance and return to Florem to rest up. When ready, head to the Temple of Water.
Anything missing from this guide?
ASK A QUESTION for Bravely Default
Comments for Twilight Ruins
Add a comment
Please log in above or sign up for free to post commentsNo comments yet. Tell us what you think to be the first.
Table of ContentsClose
- Basics
- Asterisks / Job Classes
- Jobs Guide
- Extras
- Intro
- Chapter 1
- Chapter 2
- Chapter 3
- Chapter 4
- Chapter 5
- Chapter 6
- Chapter 7
- Chapter 8
- The End
- Sub-Scenarios (Ch1)
- Sub-Scenarios (Ch2)
- Sub-Scenarios (Ch3)
- Sub-Scenarios (Ch4)
- Sub-Scenarios (Ch5)
- Sub-Scenarios (Ch6)
- Sub-Scenarios (Ch7)
- Sub-Scenarios (Ch8)
Guide Updates
Get notified of updates to this guide
Many of our guides get updated with additional information. To get an email when this guide is updated click below.
 Join us on Discord
Click to close