The Iron Wall
Thank you for printing this page from www.SuperCheats.com.
Remember to come back to check for updates to this guide and much more content for Bravely Default
Follow this guide to hear about updates
Added:
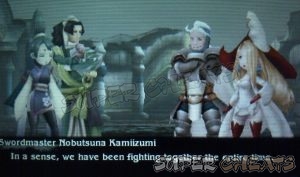
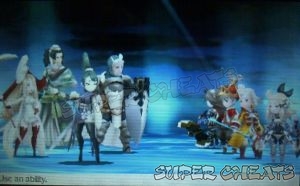
After taking the elevator, continue along the way to find Kamiizumi and the others. The battle will initiate immediately.
| Kamiizumi |
| HP: 99,999 Weakness: None, FAM: Human |
| Heinkel |
| HP: 95,000 Weakness: None, FAM: Human |
| Holly |
| HP: 85,000 Weakness: None, FAM: Human |
| Kikyo |
| HP: 90,000 Weakness: None, FAM: Human |
| Rewards: Turbo Ether x4, Elixir |
  |
| Heinkel will still protect his allies so you have no choice but to debuff and attack him. Holly will play a major role here since her Curaga can recover 9,999 HP per cast. She will also cast Reflect to her team and yours, bounce back the magic. Since magic can’t be reflected twice, you’ll need to target her team with your recovery spells (with Reflect enabled) to heal your party. Unfortunately, even if you target all enemies for healing, the reflected spell will still become a single-target spell. A Salve-Maker will also be able to bypass Reflect by using Widen Area + healing item. However, this move consumes 1 BP so it’s rather impractical in the long run. Fortunately, Reflect expires after a few turns and Holly will prioritize casting it again to her entire party so use items and recovery magic as necessary. |
| Kikyo will deal considerable damage with her priority attacks while Kamiizumi will just rely on counterattacks and conventional attacks to deal damage. Take out Heinkel first then concentrate your attacks on Holly. If possible try to deal damage every turn to avoid getting out-healed by Holly. Once the two of them are down, you can take out Kikyo next and finally Kamiizumi. |
Anything missing from this guide?
ASK A QUESTION for Bravely Default
Comments for The Iron Wall
Add a comment
Please log in above or sign up for free to post commentsNo comments yet. Tell us what you think to be the first.
Table of ContentsClose
- Basics
- Asterisks / Job Classes
- Jobs Guide
- Extras
- Intro
- Chapter 1
- Chapter 2
- Chapter 3
- Chapter 4
- Chapter 5
- Chapter 6
- Chapter 7
- Chapter 8
- The End
- Sub-Scenarios (Ch1)
- Sub-Scenarios (Ch2)
- Sub-Scenarios (Ch3)
- Sub-Scenarios (Ch4)
- Sub-Scenarios (Ch5)
- Sub-Scenarios (Ch6)
- Sub-Scenarios (Ch7)
- Sub-Scenarios (Ch8)
Guide Updates
Get notified of updates to this guide
Many of our guides get updated with additional information. To get an email when this guide is updated click below.
 Join us on Discord
Click to close